Easy Loaded Cheesy Pocket Tacos
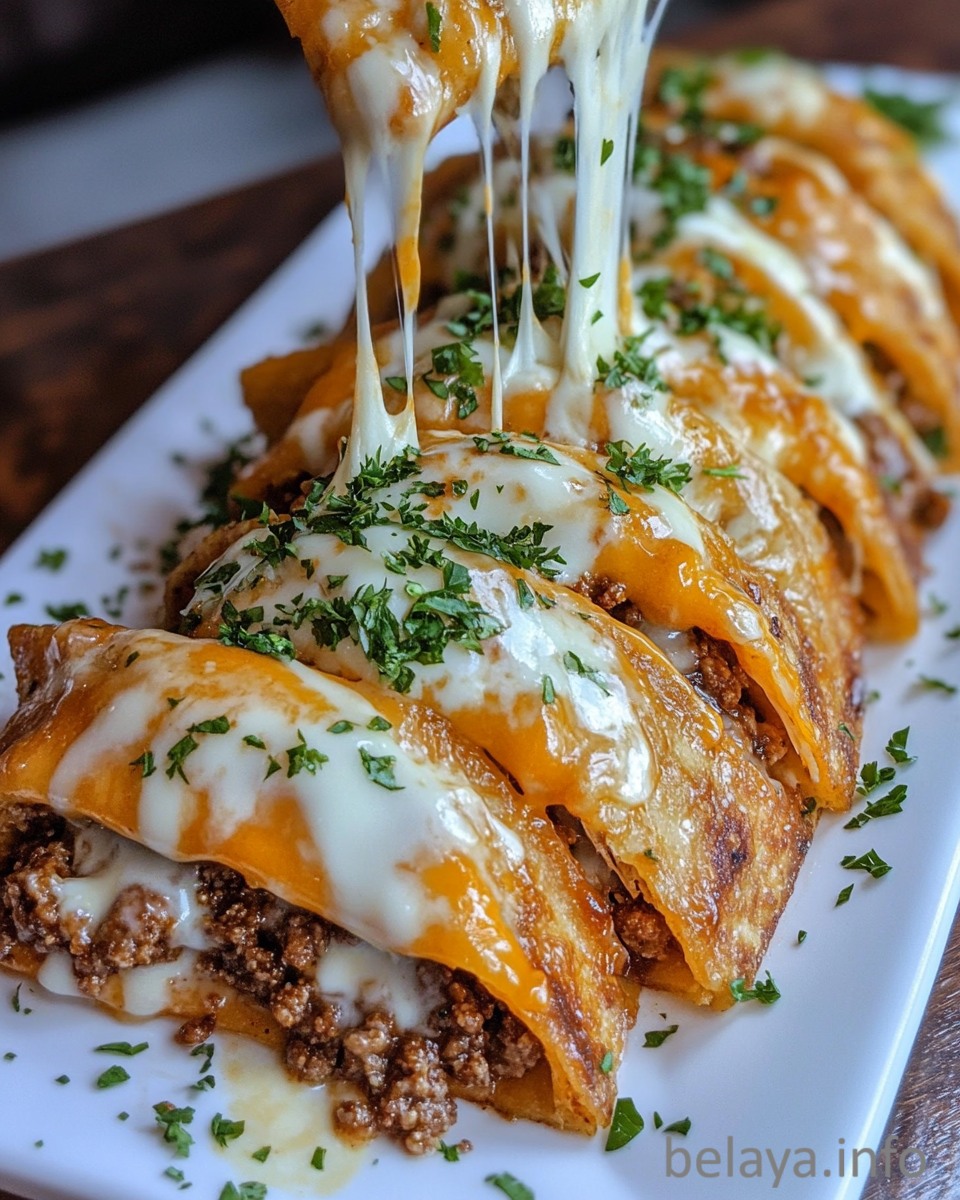
Golden, crispy, and oozing with bold flavor, these Easy Loaded Cheesy Pocket Tacos take the essence of a taco night and wrap it into one handheld, mess-free bite.
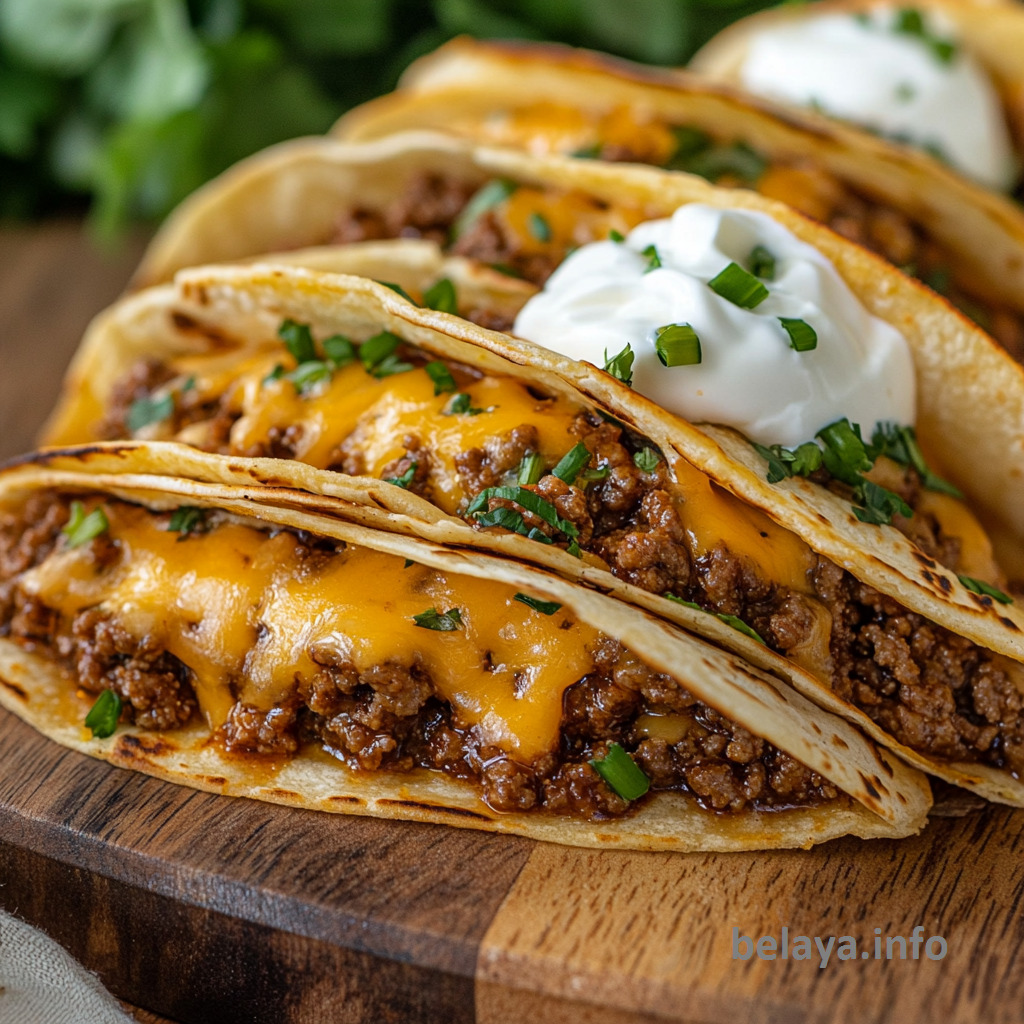
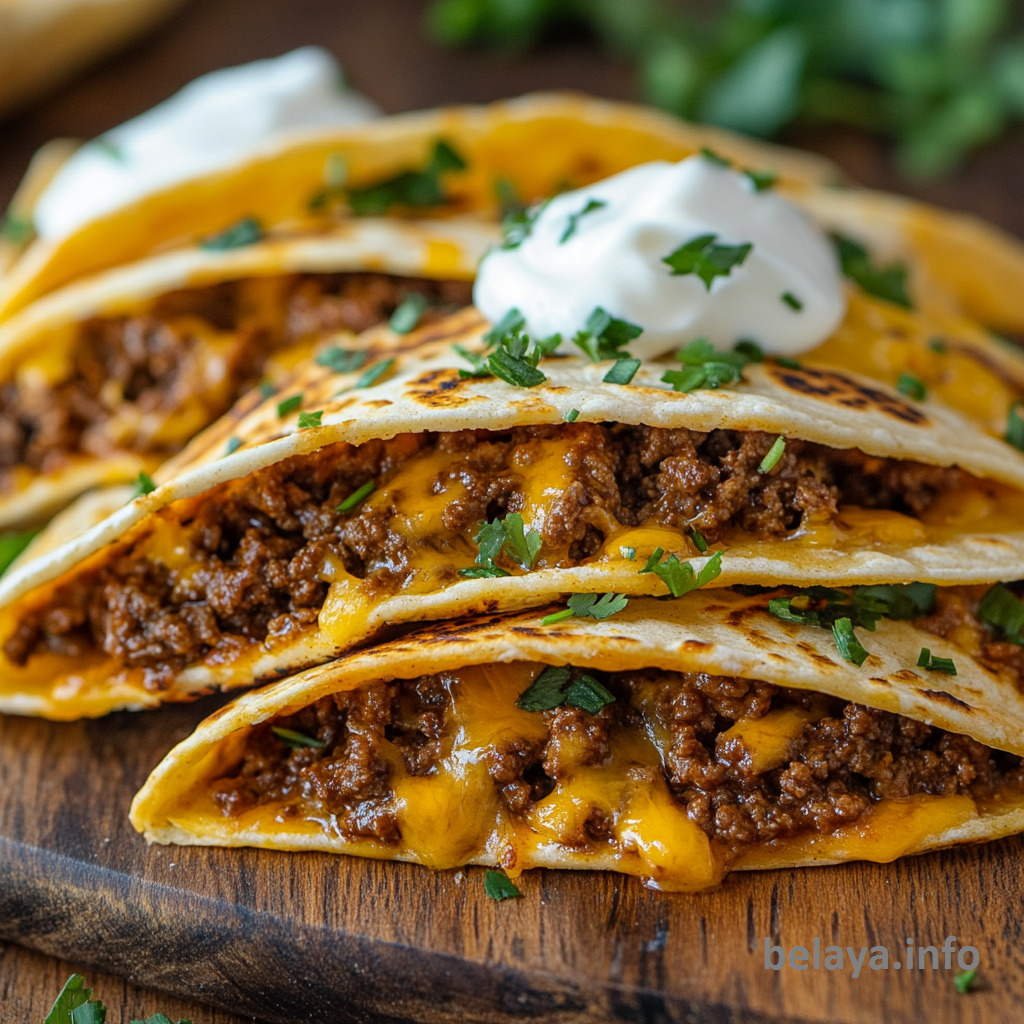
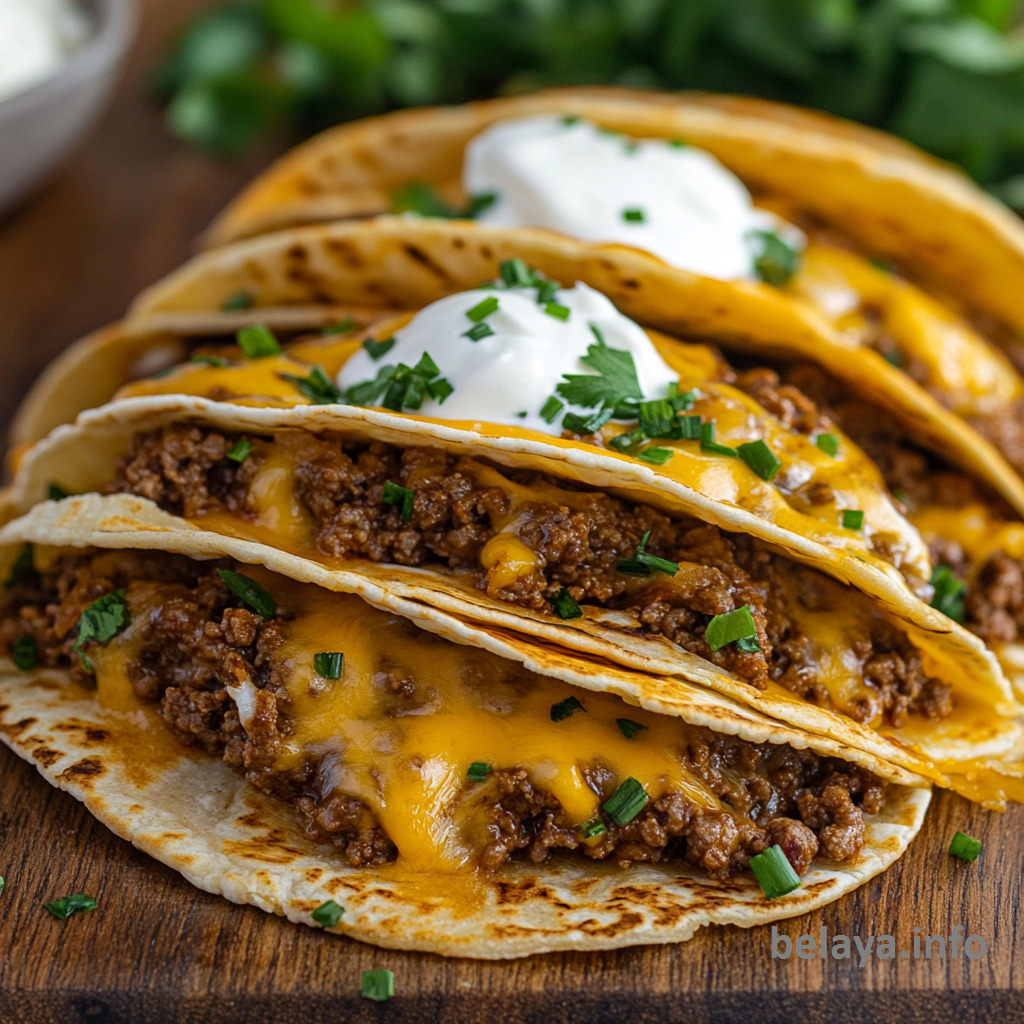
Each soft flour tortilla is layered with a creamy, tangy base, spiced beef filling, and melty cheddar cheese—then folded into a snug pocket and baked until beautifully crisp. It’s a dish that blends comfort with convenience, making it perfect for busy weeknights, party platters, or game-day snacks.
Best of all, they’re endlessly customizable with your favorite toppings and can be prepped ahead for a no-stress, all-flavor mealtime win.
Why People Will Love The Easy Loaded Cheesy Pocket Tacos:
All-in-One Flavor Explosion:
Every bite delivers the perfect balance—creamy, cheesy, spicy, and savory—wrapped in a golden, buttery tortilla that’s crisped to perfection.
No-Mess, Handheld Convenience:
These taco pockets are self-contained, making them ideal for parties, on-the-go meals, or family dinners without the usual taco spill.
Customizable to Every Taste:
You can adjust the spice level, switch up the fillings, or add your favorite toppings—making it incredibly flexible for picky eaters and adventurous food lovers alike.
Comfort Food Meets Crowd-Pleaser:
The creamy filling and melty cheese deliver classic comfort, while the playful presentation appeals to kids and adults alike—these disappear fast at gatherings!
Make-Ahead and Meal Prep Friendly:
They can be fully assembled in advance, refrigerated, and baked fresh when needed—perfect for weeknight planning or feeding a crowd with minimal effort.
Key Ingredients:
Ground Beef (80/20):
Rich, juicy, and full of flavor, this well-marbled beef serves as the savory base of the filling. The fat content ensures the meat stays moist and flavorful even after baking.
Taco Seasoning:
A bold blend of spices—typically including chili powder, cumin, garlic, paprika, and oregano—that transforms plain ground beef into a deeply seasoned, crave-worthy taco filling.
Cream Cheese:
Softened and blended until creamy, this adds a luxurious richness and smooth texture that binds the filling and brings balance to the spice.
Salsa:
Brings brightness, acidity, and a touch of heat, cutting through the richness of the meat and cream cheese while layering in fresh tomato and chili flavor.
Flour Tortillas (6-inch):
Soft and pliable when warmed, these tortillas create the perfect pocket for wrapping the creamy, cheesy filling—ideal for baking into golden, hand-held bites.
Shredded Cheddar Cheese:
Melts into gooey ribbons during baking, enhancing the taco flavor with its sharpness and signature melt.
Melted Butter:
Brushed onto the tortilla exteriors, it creates a golden, slightly crisp finish and adds an irresistible buttery aroma with every bite.
Expert Tips:
Use Room-Temperature Cream Cheese for a Smooth Base:
Cold cream cheese won’t mix properly with salsa. Let it soften at room temperature so it blends into a smooth, creamy layer that spreads easily and evenly on the tortillas.
Warm the Tortillas Properly—Not Just for Flexibility:
Briefly warming tortillas makes them more pliable for folding and less likely to crack. But more importantly, it helps them adhere better when rolled into sealed pockets, minimizing filling leaks during baking.
Avoid Overfilling to Prevent Leaks:
Stick to the recommended amounts of filling—too much beef or cheese can cause the tortillas to tear or burst open in the oven. Balance is key for structure and even cooking.
Bake on a Wire Rack for Extra Crispiness:
Instead of placing them directly on a sheet pan, use a wire rack over the pan. This allows hot air to circulate underneath and gives you an evenly crisp exterior—no soggy bottoms.
Brush with Butter or Oil for Golden Results:
A light coating of melted butter (or even a neutral oil) not only promotes browning but also enhances the flavor and creates a subtle crunch on the outside of the tortilla.
Let Them Rest Briefly After Baking:
Give the pockets 2–3 minutes after coming out of the oven before serving. This allows the cheese to set slightly and makes handling easier while keeping the insides creamy.
Freeze Before Baking for Quick Meals Later:
Assemble the pockets and place them on a tray in the freezer until firm. Then store in freezer bags. When ready to eat, bake from frozen at 350°F for 22–25 minutes.
Use a Sharp Knife to Trim Excess Tortilla (Optional):
If your folded pockets have too much overlap on the ends, you can gently trim the excess to prevent thick doughy bites and ensure a tighter seal.
Easy Loaded Cheesy Pocket Tacos
Ingredients
For the Beef Filling
1 pound ground beef (80/20 recommended for flavor)
1 packet taco seasoning (1-1.25 oz)
2/3 cup water
For the Creamy Base
8 ounces cream cheese, softened to room temperature
1/2 cup salsa (mild, medium, or hot based on preference)
For Assembly
12 flour tortillas (6-inch size)
1 cup shredded cheddar cheese
2 tablespoons butter, melted
Optional Serving Suggestions
Sour cream
Additional salsa
Guacamole
Shredded lettuce
Diced tomatoes
Instructions
Preheat the Oven:
Set your oven to 350°F (175°C). Prepare a large baking sheet by greasing it lightly or lining it with parchment paper.
Cook the Beef Filling:
In a skillet over medium-high heat, brown the ground beef, crumbling it as it cooks, for 5–7 minutes or until fully cooked. Drain excess fat, leaving a bit for added flavor.
Stir in the taco seasoning and 2/3 cup of water. Let the mixture simmer for 3–4 minutes, until it thickens and most of the liquid is absorbed. Remove from heat.
Prepare the Creamy Base:
In a medium bowl, beat the softened cream cheese until smooth. Stir in the salsa and mix until fully blended and creamy.
Warm the Tortillas:
To make folding easier, warm the tortillas briefly. Wrap them in a damp paper towel and microwave for 30 seconds, or heat each one individually in a dry skillet for a few seconds per side.
Assemble the Pockets:
Spread about 1 tablespoon of the cream cheese mixture in the center of each tortilla. Add 2 tablespoons of seasoned beef and 1 tablespoon of shredded cheddar cheese on top.
Fold the Tortilla Pockets:
Fold the bottom edge over the filling, then fold in both sides and roll tightly upward to form a secure pocket. Place seam-side down on the prepared baking sheet.
Add a Buttery Finish:
Brush the tops and sides of each taco pocket with melted butter to ensure golden color and a crisp exterior.
Bake:
Bake for 15–18 minutes, or until the pockets are golden and the cheese inside is fully melted.
Serve:
Let cool for 2–3 minutes. Serve warm with optional toppings like sour cream, guacamole, salsa, shredded lettuce, or diced tomatoes.
Tips:
Beef Choice:
An 80/20 ground beef ratio ensures juiciness and flavor. Leaner beef works but may require a touch more seasoning or salsa for moisture.
Tortilla Handling:
Warm tortillas are key to preventing cracks and tears during rolling. Don’t skip this step.
Make-Ahead Friendly:
You can fully assemble the taco pockets and refrigerate them for up to 24 hours before baking. Perfect for prepping in advance for parties or weeknights.
Important Notes When Making Easy Loaded Cheesy Pocket Tacos
Tortilla Size and Quality Matter:
Use 6-inch flour tortillas that are soft, fresh, and pliable. If they’re too dry or stiff, they’ll crack during folding and won’t seal properly—leading to leaks and uneven browning.
Don’t Skip Warming the Tortillas:
This step isn’t just for ease—it’s essential for structure. A warm tortilla molds easily around the filling and holds its shape without tearing as it bakes.
Season the Beef Well, but Don’t Oversaturate It:
You want the beef moist, not soupy. Simmer off most of the water after adding taco seasoning to ensure a thick, cohesive filling that won’t make the tortillas soggy.
Layer the Fillings in the Right Order:
Spread the cream cheese mixture first to act as a moisture barrier between the tortilla and the meat. This helps maintain the tortilla’s structure and keeps everything sealed during baking.
Avoid Overfilling or Overpacking:
It’s tempting to stuff them, but too much filling leads to breakage, uneven cooking, and leaking. Stick to measured portions for clean folding and even heat distribution.
Seal Tightly and Place Seam-Side Down:
Rolling the tortilla snugly and placing it seam-side down ensures it stays closed during baking. You don’t need toothpicks—just a firm roll and proper placement.
Don’t Skip the Butter Brush:
This final touch gives the pockets a beautifully golden, crisp exterior. It also enhances flavor and mimics a pan-fried finish—without the mess of a skillet.
Cool Briefly Before Serving:
Straight from the oven, the filling is piping hot and molten. A short rest (2–3 minutes) allows everything to settle, making them easier (and safer) to eat without losing their gooey interior.
Detailed Guide On How to Enjoy Easy Loaded Cheesy Pocket Tacos After Cooking
Serve Immediately While Warm and Crispy:
These pockets are best enjoyed fresh out of the oven when the tortillas are golden and crisp, and the cheese inside is perfectly melted. Let them rest for 2–3 minutes to avoid burning your mouth and to help the filling set slightly.
Pair with Fresh, Cool Toppings:
Balance the richness of the creamy, cheesy filling with refreshing toppings like:
- Sour cream or Greek yogurt for tang
- Guacamole or sliced avocado for creaminess
- Shredded lettuce and diced tomatoes for crunch and freshness
- Pickled jalapeños or onions for a sharp, acidic contrast
Dip and Snack:
Turn them into a fun, interactive meal by serving with dipping sauces like:
- Salsa roja or salsa verde
- Queso dip
- Chipotle mayo or creamy cilantro-lime sauce
Slice and Serve as a Party Appetizer:
Cut each pocket in half or thirds and arrange on a platter for game day snacks or gatherings. They’re handheld, mess-free, and crowd-pleasing.
Reheat Properly for Leftovers:
Use an oven or toaster oven at 350°F for 8–10 minutes to restore crispiness. Avoid microwaving unless you’re in a rush—it softens the tortilla and mutes the texture.
Make It a Full Meal:
Pair with sides like:
- Mexican rice or cilantro-lime rice
- Black beans or refried beans
- Roasted corn salad or street corn (elote)
Repurpose Creatively:
Chop leftovers and layer over nachos, add to a breakfast hash with eggs, or stuff into bell peppers for a fun Tex-Mex twist.

Nutrition Information
For 1 serving of Easy Loaded Cheesy Pocket Tacos, assuming the recipe yields 12 taco pockets (1 per serving):
Calories: 230 kcal | Total Fat: 14.6 g
Saturated Fat: 6.1 g | Monounsaturated Fat: 5.2 g | Polyunsaturated Fat: 1.8 g
Cholesterol: 38 mg | Sodium: 420–480 mg (depending on seasoning and salsa)
Total Carbohydrates: 15.2 g | Dietary Fiber: 1.1 g | Sugars: 1.9 g
Protein: 9.4 g
Nutrition Notes:
Based on using 80/20 ground beef, full-fat cream cheese, and standard flour tortillas.
Sodium may vary based on taco seasoning, salsa brand, and cheese used.
For a lighter version, substitute lean ground beef or turkey, and use low-fat cream cheese and reduced-fat cheddar.
Frequently Asked Questions
Can I use corn tortillas instead of flour?
Flour tortillas are highly recommended for this recipe because they are more pliable and seal better when folded and baked. Corn tortillas tend to crack or split when rolled, especially without frying. If you prefer corn, use larger ones and consider lightly frying them to increase flexibility.
Can I make these ahead of time and reheat them?
Yes! These taco pockets can be assembled up to 24 hours in advance and stored in the fridge. When ready to serve, bake them as directed. For reheating leftovers, pop them in a 350°F oven for 10 minutes to maintain crispness—avoid microwaving if possible, as it can make the tortillas soggy.
Can I freeze these taco pockets?
Absolutely. After assembling, freeze them in a single layer until firm, then transfer to a freezer bag. Bake from frozen at 350°F for 22–25 minutes, or until heated through and golden.
How do I keep the filling from leaking out during baking?
Be careful not to overfill, and always warm your tortillas before assembling. Fold them tightly and place seam-side down on the baking sheet. Brushing with melted butter also helps seal the edges during baking.
What other fillings can I use besides beef?
This recipe is very adaptable! You can use shredded chicken, ground turkey, black beans, sautéed veggies, or pulled pork. Just make sure your filling isn’t too wet, or the tortillas may become soggy and difficult to seal.
Why is it important to warm the tortillas before filling?
Warming the tortillas softens them, making them more pliable and less likely to crack when folding. It also helps the pockets hold their shape better while baking and creates a tighter seal.
Should I drain all the fat after cooking the beef?
Drain most, but not all. Leaving a small amount of fat helps keep the meat moist and flavorful, especially since it will bake again in the oven. Too much fat, however, can make the filling greasy and cause the tortilla to become soggy.
How do I make sure the tortillas stay sealed during baking?
Don’t overfill, fold tightly, and place seam-side down. You can also gently press down on each taco pocket before brushing with butter to ensure contact with the pan. The melted cheese inside helps act as a natural binder during baking.
Can I use pre-shredded cheese or should I grate it fresh?
Both work, but freshly grated cheese melts better. Pre-shredded cheese contains anti-caking agents that can prevent smooth melting. For the creamiest, meltiest texture, grating your own cheddar is ideal.
What’s the best way to reheat leftovers while keeping them crispy?
Reheat in a 350°F oven for 8–10 minutes or in a toaster oven. Avoid microwaving, which softens the tortilla and ruins the crisp texture. For extra crispiness, reheat directly on a wire rack in the oven.