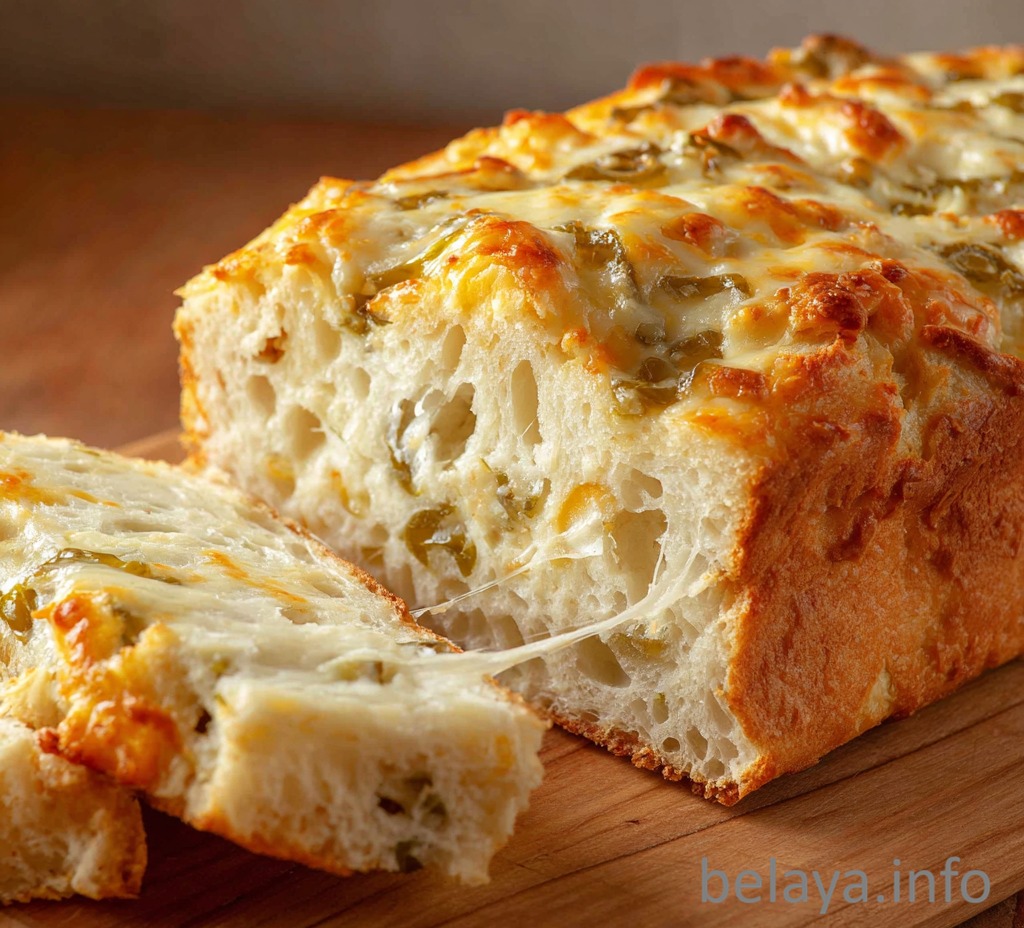
Green Chile Cheese Bread
Golden, gooey, and kissed with mild heat, Green Chile Cheese Bread is a bold, comforting twist on classic cheesy bread.
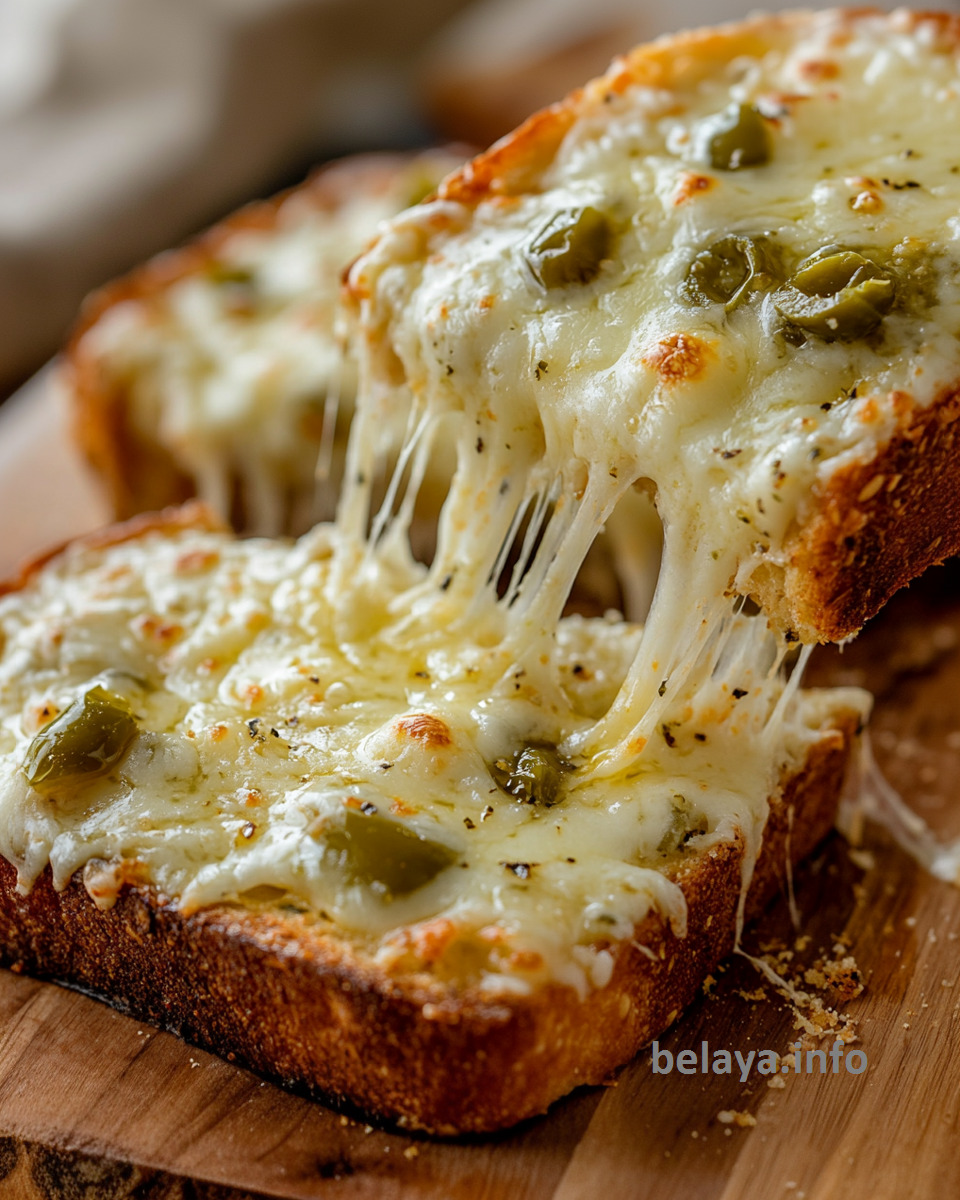
This irresistible side or snack combines the richness of butter and cheddar with the bright, smoky flavor of canned green chiles—delivered on a crusty French loaf that turns crisp and golden under a high-heat broil.
With every bite, you get the perfect contrast of soft, melty interior and toasty edges, making it a crave-worthy companion to soups, chilis, or enjoyed entirely on its own. Simple ingredients, bold flavor—this is comfort food with a Southwestern soul.
Why People Will Love the Green Chile Cheese Bread:
Bold Southwestern flavor in every bite: The combination of melted cheddar and tangy green chiles offers a perfect balance of richness and gentle heat—simple ingredients, deeply satisfying flavor.
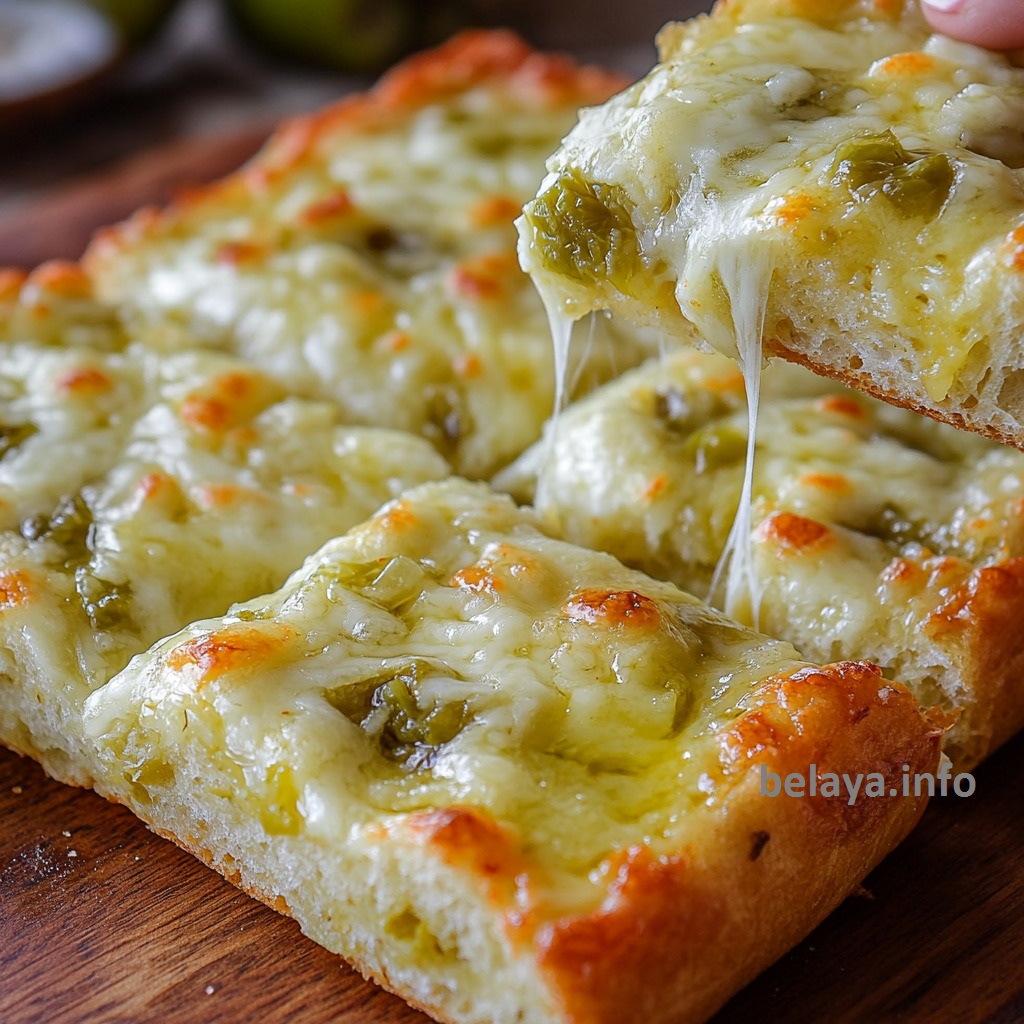
Crisp, golden texture meets melty goodness: The contrast between the crunchy broiled bread and the soft, bubbling cheese-chile topping delivers the kind of texture people crave.
Effortless to make, but feels indulgent: With just a few pantry staples and minutes of prep, you get a dish that tastes like something from a specialty café or food truck.
Versatile for any occasion: It works as a bold appetizer, comforting side, or even a casual main dish paired with soup, salad, or chili—great for both weeknights and entertaining.
Elevates the familiar: By adding green chiles to a classic cheese bread base, it creates a new flavor experience that’s unexpected, memorable, and addictively good.
Crowd-pleasing and customizable: Whether served plain or with added toppings like extra jalapeños, bacon bits, or a drizzle of hot sauce, it adapts easily to personal taste.
Deeply nostalgic yet excitingly modern: It captures the comforting warmth of home-cooked meals while introducing a kick of southwestern spice that feels fresh and current.
Key Ingredients:
French bread: The sturdy, crusty loaf acts as the perfect canvas—its airy interior soaks up the butter mixture while its exterior turns irresistibly crisp under high heat.
Softened butter: Rich and velvety, the butter creates a luscious base that melts into the bread, delivering indulgence in every bite and helping to carry the chile and cheese flavors.
Mayonnaise: A secret weapon in the spread—its creamy tang enhances the overall richness, while helping the cheese melt smoothly and cling beautifully to the bread.
Cheddar cheese: Sharp and bold, cheddar adds depth and saltiness, melting into golden, bubbly perfection and offering just the right balance to the chiles’ gentle heat.
Canned diced green chiles (with juices): These smoky, mild peppers bring a touch of Southwestern flair—offering tang, moisture, and a soft, earthy spice that infuses every layer of the bread.
Expert Tips:
Use high-heat wisely—timing is everything: Baking at 500°F followed by a broil gives the cheese time to melt and brown without drying out the bread. Watch it closely during broiling—just 30 seconds too long can take it from golden to burnt.
Don’t drain the green chiles: The juices from the canned chiles carry essential flavor and moisture. They help the cheese mixture spread evenly and soak slightly into the bread, creating a more flavorful bite.
Choose sharp cheddar for impact: A sharper, aged cheddar will stand up to the richness of butter and mayo and the mild heat of the green chiles. Milder cheese may get lost in the mix.
Soften butter fully for better blending: Room-temperature butter ensures a smooth, even spread that integrates better with the mayo and clings to the bread without tearing it.
Toast the bread briefly before spreading (optional): For an even crispier base, lightly toast the cut sides of the bread in the oven for 2–3 minutes before adding the topping. This prevents sogginess and adds a deeper crunch.
Slice after resting slightly: Let the bread cool for a minute or two before slicing to allow the cheese to set slightly—this helps prevent a messy collapse and makes for cleaner portions.
Upgrade with mix-ins: For added depth, consider stirring finely chopped scallions, roasted garlic, or a pinch of smoked paprika into the spread before baking.
Green Chile Cheese Bread
Ingredients
1 loaf french bread
½ cup butter, softened
⅓ cup mayonnaise
1 cup cheddar cheese
4 ounces diced green chilies , canned with juices
Instructions
Step 1:
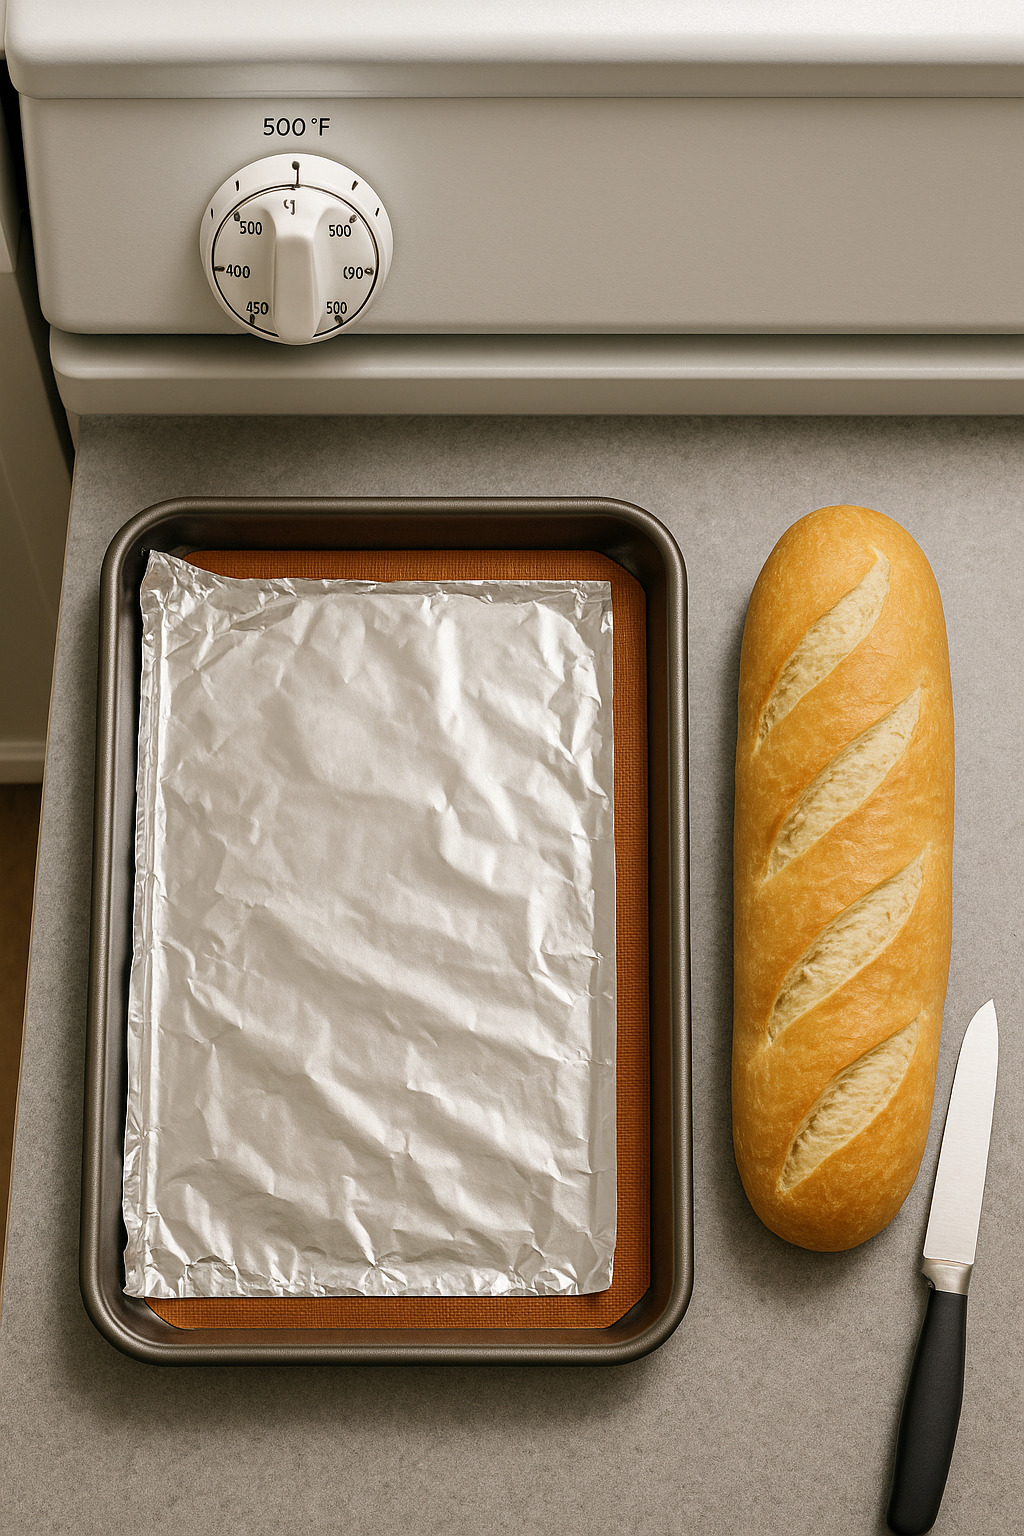 Preheat your oven to 500°F (260°C). For easier cleanup, you can line a baking sheet with foil or a silicone baking mat.
Step 2:
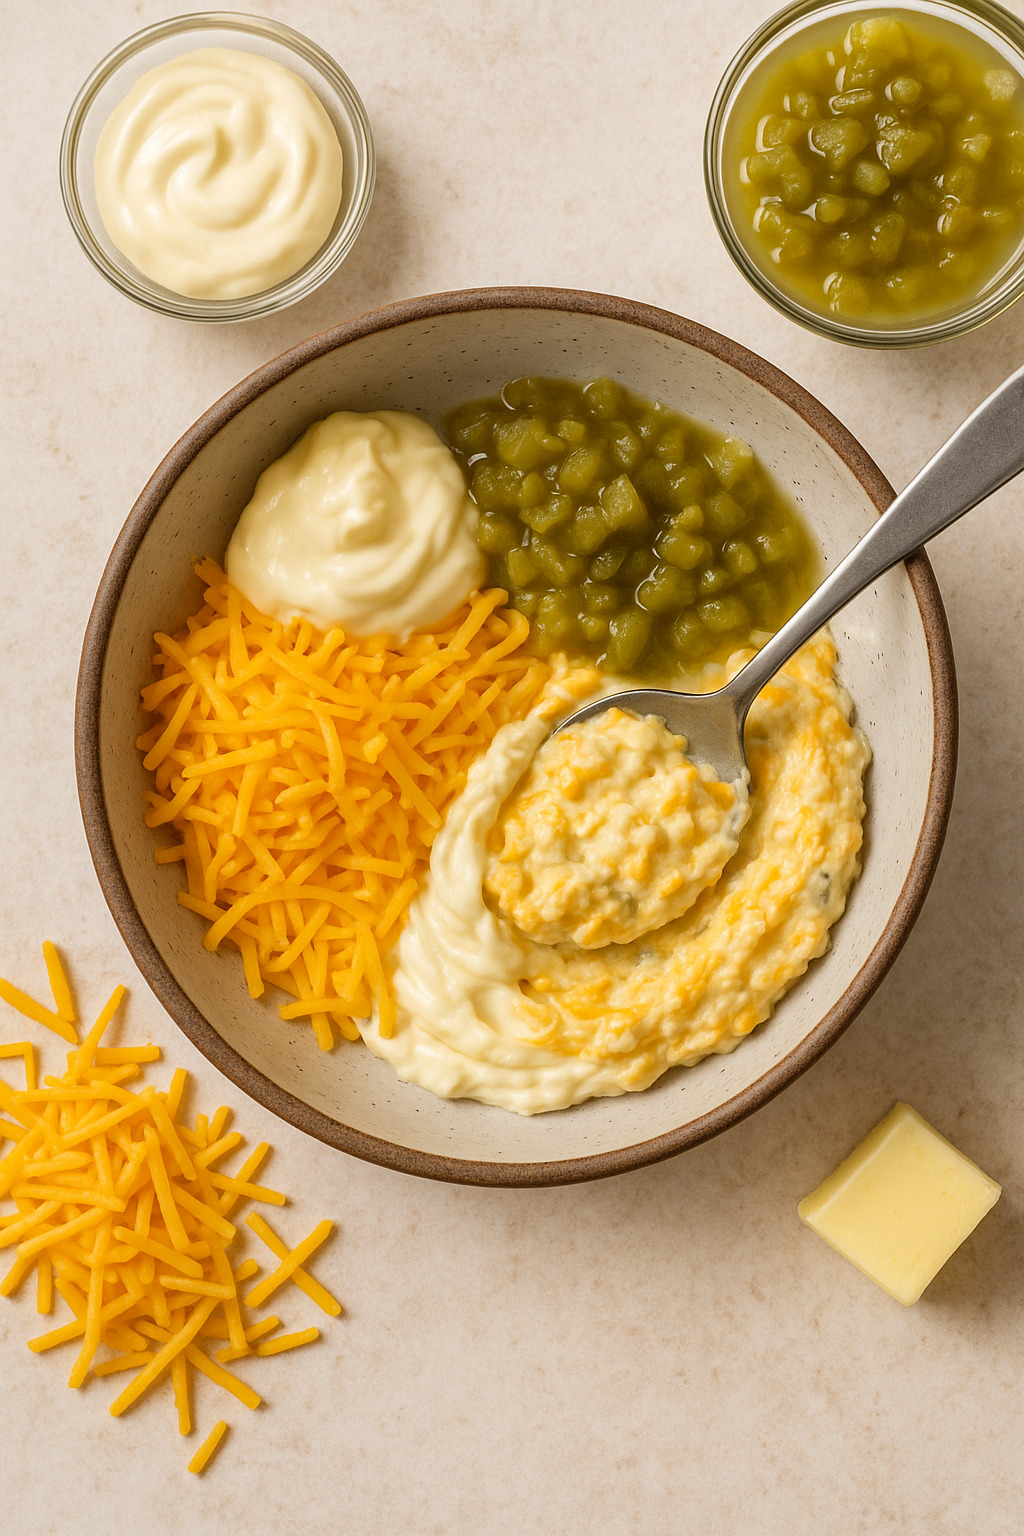
In a medium bowl, combine the softened butter, mayonnaise, canned green chiles (including their juices), and shredded cheddar cheese. Mix thoroughly until evenly blended.
Step 3:
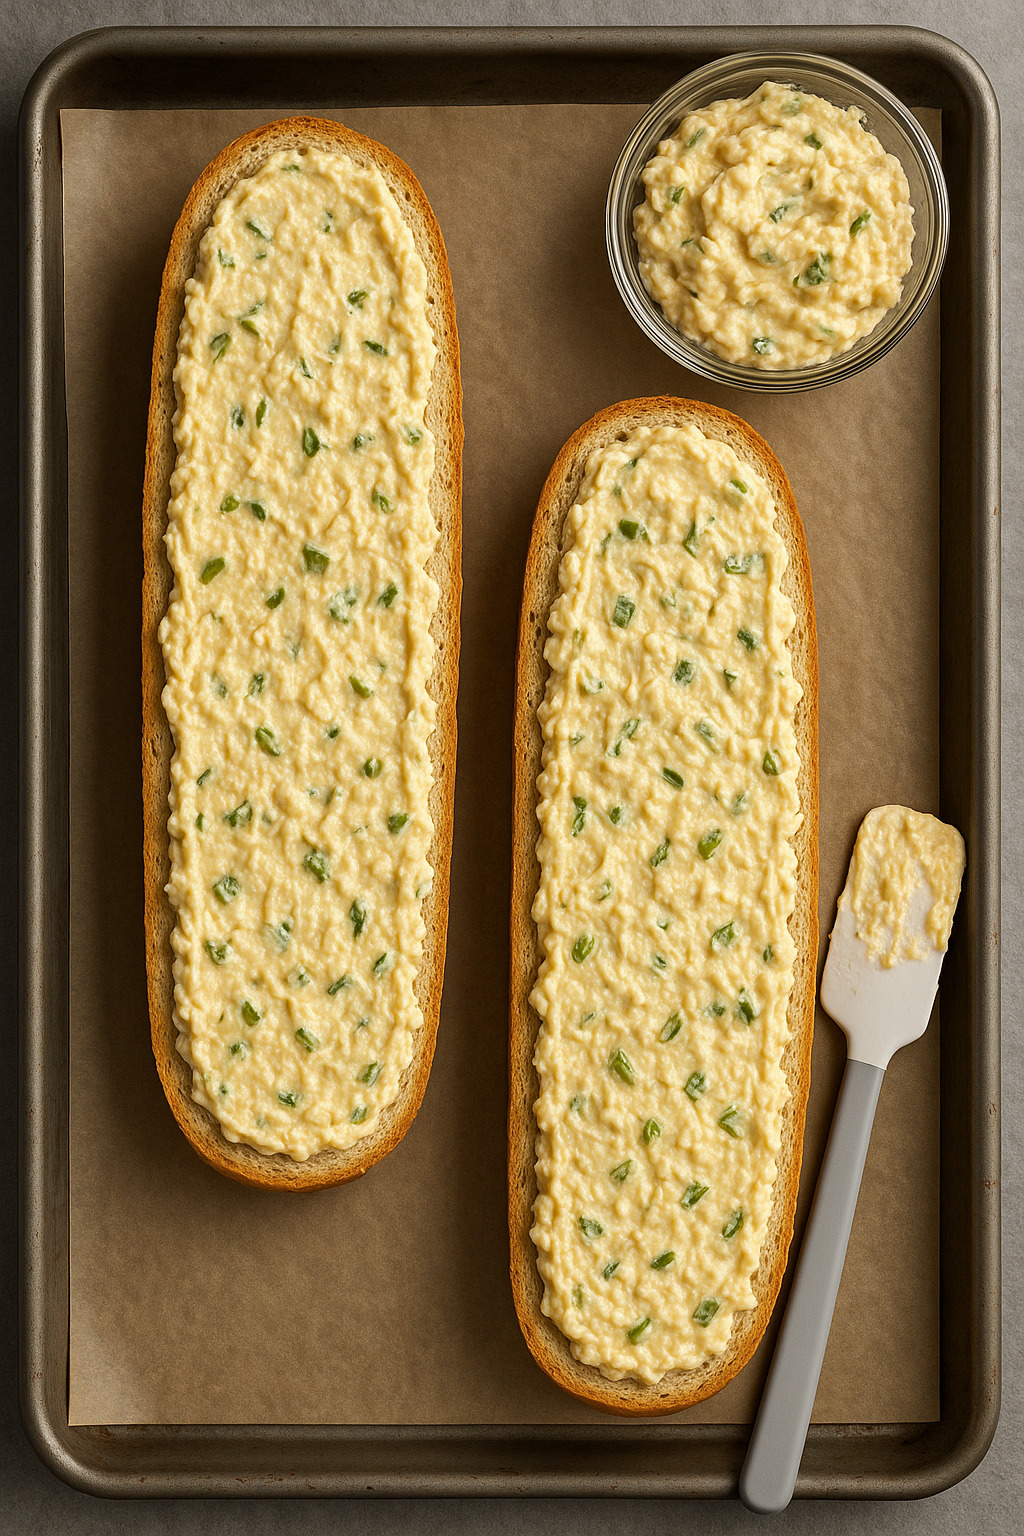
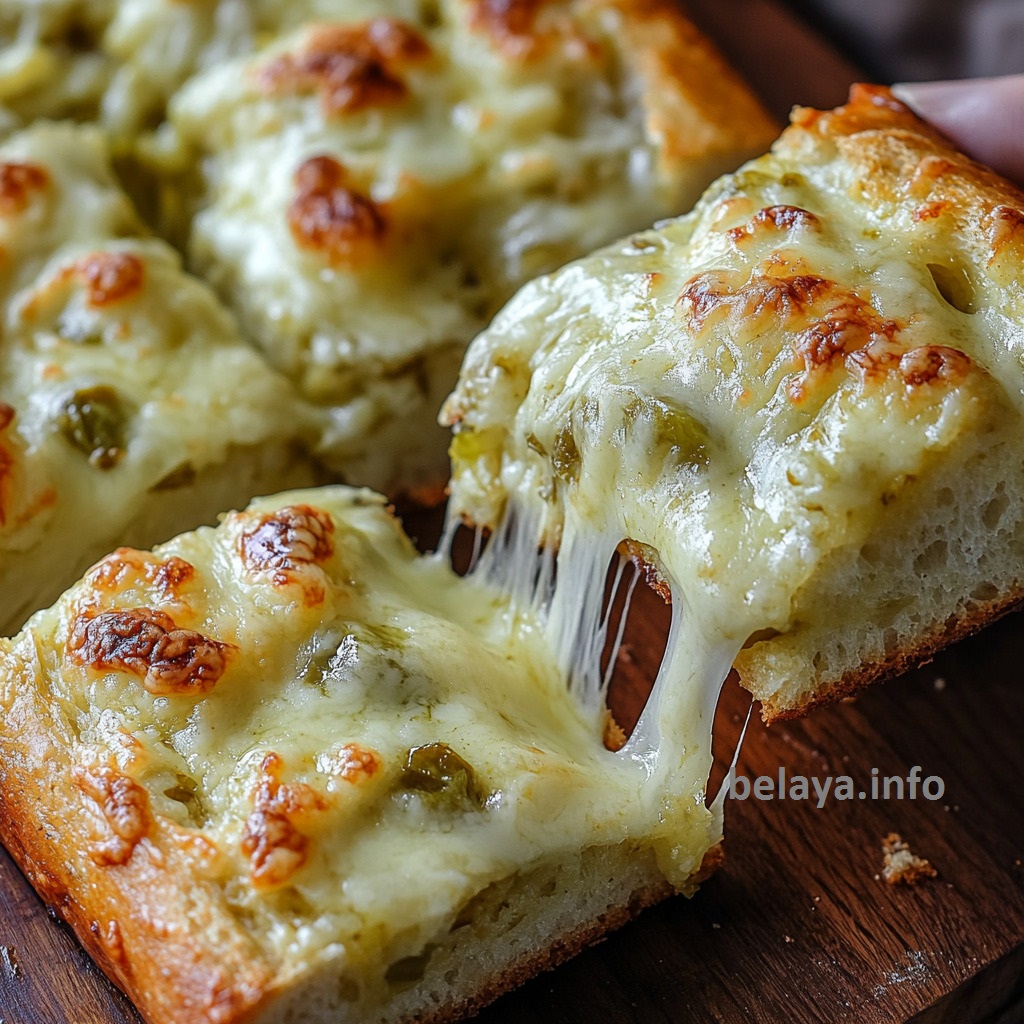
Slice the French bread loaf in half lengthwise. Spread the cheese and chile mixture evenly over both halves. Place the bread, cut-side up, on the prepared baking sheet.
Step 4:
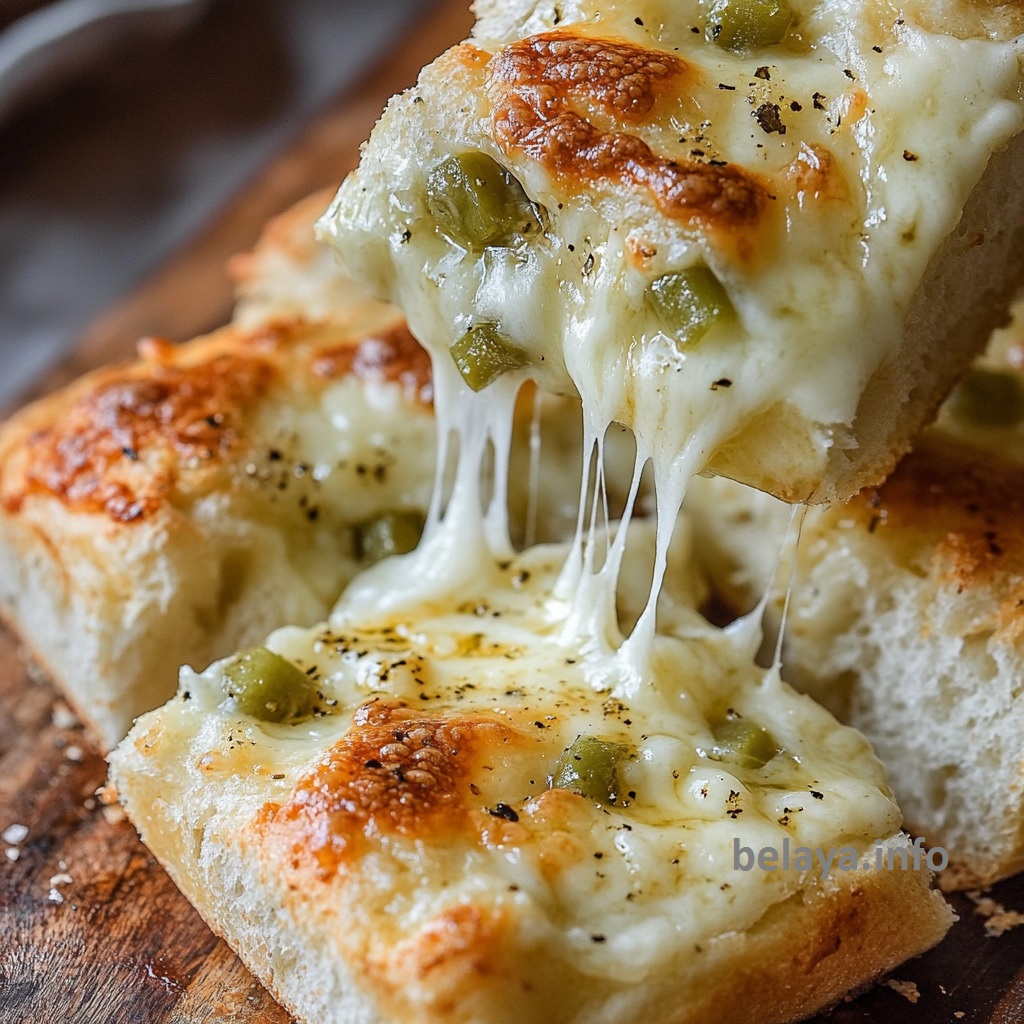
Bake for 5 minutes, then switch the oven to broil. Broil just until the top is bubbly, golden, and slightly browned—watch closely to avoid burning.
Step 5:
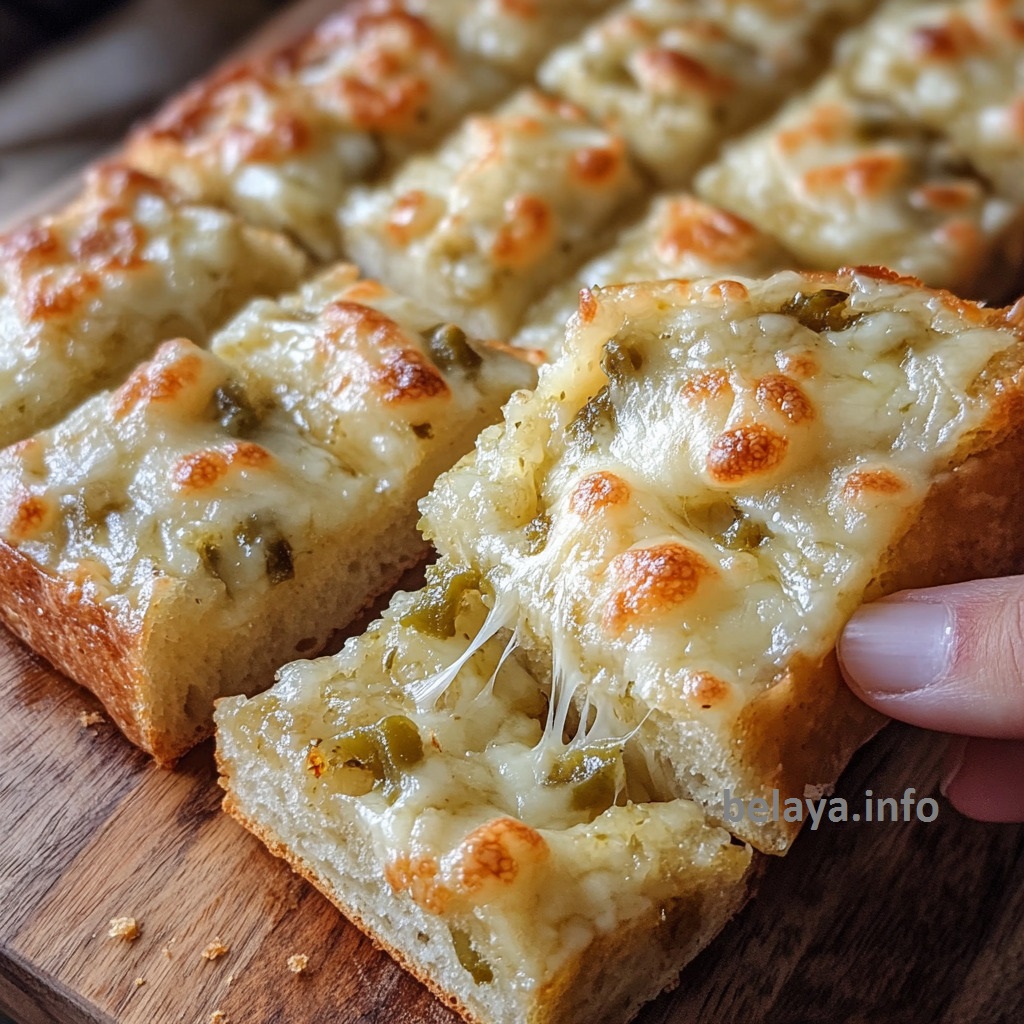
Remove from the oven. Let cool slightly, slice into portions, and serve warm.
Important Notes When Making Green Chile Cheese Bread
Bread texture makes a difference: Choose a sturdy French loaf with a firm crust and chewy interior—it holds up well to the rich topping without becoming soggy, especially under high heat. Avoid overly soft sandwich-style loaves.
Let ingredients come to room temperature: Both the butter and mayonnaise should be fully softened to ensure they mix evenly. Cold ingredients can lead to uneven spreading and clumpy texture.
Balance richness with acidity (if desired): The combination of butter, mayo, and cheese is deliciously indulgent—if you want to balance that richness, consider a squeeze of lime juice or a sprinkle of pickled jalapeños before serving.
Use the full flavor of green chiles: The juice from the can is essential—it adds moisture, tang, and distributes the chile flavor throughout the bread. Draining them would diminish their impact.
Don’t walk away during broiling: The broiler can transform golden and bubbly to burned in seconds. Keep your eyes on the oven during this final step to ensure the perfect finish.
Cool slightly before slicing: Allowing the bread to rest for 1–2 minutes after baking helps the cheese set slightly, making it easier to cut and serve without losing its structure.
Serve immediately for best results: This bread is at its peak straight from the oven—crispy, gooey, and aromatic. If reheating, use an oven or toaster oven to restore the crispness rather than microwaving.
How To Enjoy Green Chile Cheese Bread After Cooking:
Let It Rest Slightly, But Not Too Long
Once the bread is out of the oven, give it 2–3 minutes to cool. This allows the melted cheese to set slightly so it doesn’t slide off when slicing—yet remains gooey and rich when served.
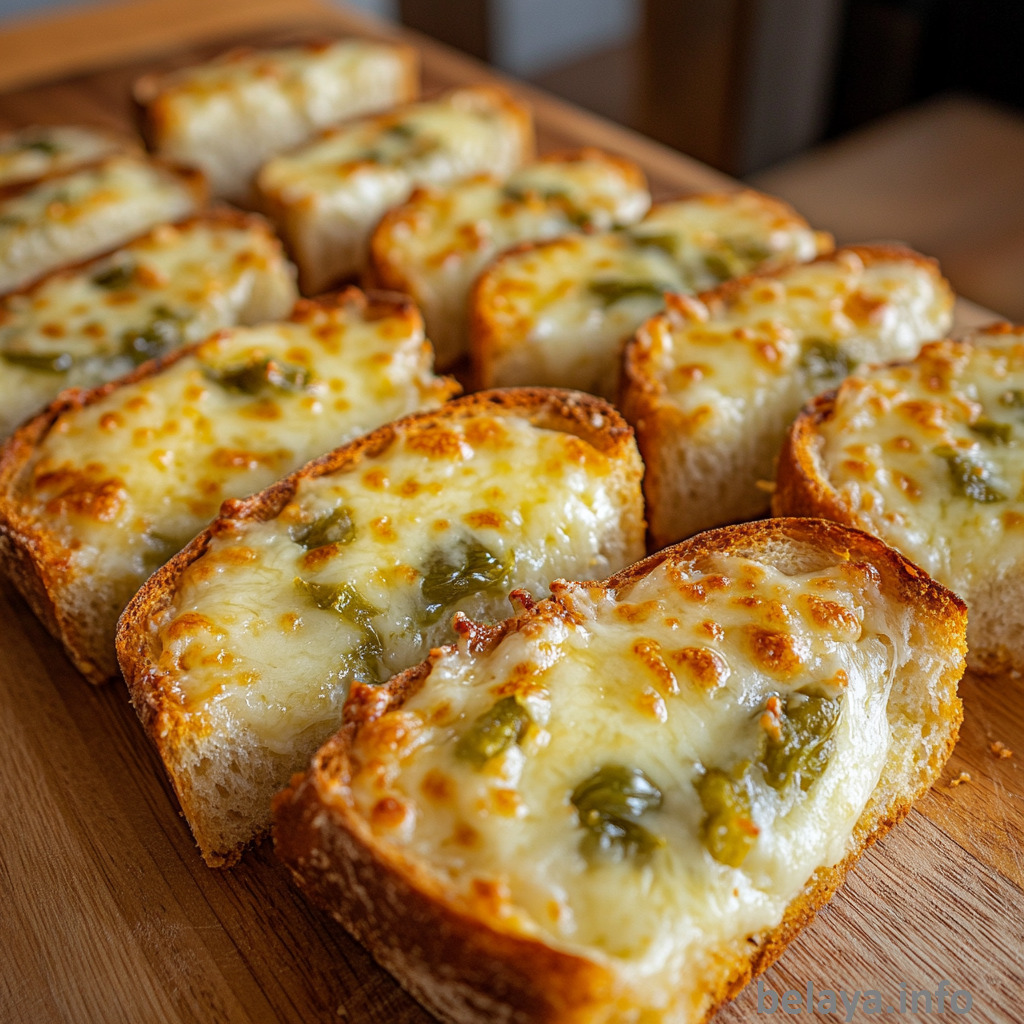
Slice with Intention
Use a sharp serrated bread knife to cut clean, even portions. Slice into thick slabs for hearty servings or thinner strips if serving as an appetizer or side.
Pair With a Creamy or Tangy Dish
This bread pairs wonderfully with soups like tomato bisque, creamy poblano soup, or bean chili. The spicy and cheesy elements balance beautifully with tangy or creamy textures.
Add a Finishing Touch
For an elevated experience, garnish with a sprinkle of chopped fresh cilantro or chives, or a tiny drizzle of hot honey for a sweet-spicy contrast.
Serve Immediately While Warm
This bread is best enjoyed warm from the oven, when the edges are crisp, the top is bubbly, and the cheese is stretchy. If it cools too much, a quick 1–2 minute reheat in a hot oven will revive its texture.
Bonus Tip: Leftovers?
Reheat slices in a toaster oven or under a broiler for 2 minutes. Avoid the microwave, which can make the bread soggy.
Nutrition Information:
Per serving of Green Chile Cheese Bread, assuming the loaf yields about 10 slices:
Calories: 240 kcal | Total Fat: 17.2 g | Saturated Fat: 6.3 g | Monounsaturated Fat: 5.9 g | Polyunsaturated Fat: 1.8 g | Cholesterol: 35 mg | Sodium: 360–450 mg (depending on cheese and mayo brands) | Total Carbohydrates: 15.4 g | Dietary Fiber: 1.1 g | Sugars: 2.2 g | Protein: 6.4 g
Note: Values are approximate and will vary depending on the size of the bread loaf, type of cheese, and exact ingredient brands used.
Frequently Asked Questions
Can I make this ahead of time and bake it later?
Yes, you can prepare the cheese and chile mixture and spread it on the bread up to a few hours ahead.
Cover and refrigerate.
When ready to bake, bring it to room temperature for 15–20 minutes, then proceed with baking and broiling for best texture.
What kind of green chiles should I use?
Use mild canned diced green chiles with their juices for the most traditional flavor.
If you want more heat, you can mix in hot Hatch chiles or even chopped jalapeños.
The juice enhances moisture and flavor—don’t drain it.
Can I use a different cheese besides cheddar?
Absolutely. Sharp cheddar provides great flavor and meltability, but you can also try Monterey Jack, Pepper Jack (for spice), or Mozzarella for a stretchier texture.
Combining cheeses can add depth and complexity.
How do I keep the bread from becoming soggy?
Make sure the bread is fresh and sturdy.
You can also lightly toast the bread before adding the topping for extra protection.
Baking at a high temp and finishing under the broiler also helps achieve a crisp crust.
Can I make this recipe gluten-free?
Yes—just substitute the French bread with a sturdy gluten-free baguette or loaf that can handle the weight of the topping.
Be sure to check that your mayo and canned green chiles are certified gluten-free as well.
Should I soften or melt the butter for the spread?
Use softened butter, not melted.
Softened butter creates a creamy, spreadable texture that blends evenly with the mayo and cheese.
Melted butter can separate or make the spread runny, leading to uneven coverage.
How finely should I shred the cheese?
Finely shredded cheese melts more evenly and blends better with the other ingredients, creating a smooth, cohesive topping.
Pre-shredded cheese works in a pinch but may not melt as well due to anti-caking agents.
Can I add other ingredients to the spread?
Absolutely. Try adding chopped scallions, crispy bacon bits, roasted garlic, or a sprinkle of smoked paprika for extra depth.
Just don’t overload it—too many mix-ins can weigh the topping down and affect texture.
What’s the best way to broil without burning the bread?
After the initial bake, switch to broil and watch the bread constantly.
Broiling happens fast—1 to 2 minutes is usually enough.
Position the baking sheet on the middle or lower rack (not too close to the heating element) for more control.
How do I get clean slices after baking?
Let the bread rest for 1–2 minutes after removing from the oven.
This gives the cheese time to set slightly, so it won’t slide off when slicing.
Use a serrated knife for the cleanest cuts.