Canning Recipe: Green Chile Chile Verde
Green Chile Chile Verde is more than just a recipe—it’s a way to preserve the bold, smoky heat of New Mexico’s iconic roasted chiles so it can be enjoyed year-round. By carefully balancing the natural earthiness of fire-roasted peppers with the savory depth of onions, garlic, and broth, this chile verde captures both comfort and spice in a single jar.
Canning transforms this vibrant dish into a pantry staple, allowing you to open a jar of homemade chile verde in the middle of winter and instantly taste the sunshine and fire of harvest season. The process not only extends shelf life but also intensifies the flavors, making each spoonful richer over time.
Whether ladled over slow-cooked pork, used as a simmer sauce for chicken, or poured over eggs and tortillas, this chile verde brings versatility to your kitchen. It’s a recipe rooted in tradition, preserving not only the ingredients but also the culinary heritage of the Southwest.
Why People Will Love Canning Recipe: Green Chile Chile Verde:
Captures authentic Southwestern flavor – the smoky, roasted green chiles bring a signature taste of New Mexico that is both bold and comforting.
Preserves seasonal freshness – canning allows you to enjoy the peak flavor of roasted chiles long after harvest, turning a fleeting ingredient into a year-round staple.
Versatile in the kitchen – this chile verde works beautifully as a simmer sauce for meats, a topping for eggs or burritos, or even as a flavorful soup base.
Homemade and shelf-stable – unlike store-bought versions, this recipe gives you full control over the ingredients, flavors, and seasoning, while lasting up to 12–18 months in your pantry.
Balanced layers of taste – the combination of garlic, onion, broth, and optional herbs like cumin or oregano adds depth, while lemon juice or vinegar provides a bright, tangy finish.
Rooted in tradition – canning this chile verde is more than a cooking process; it’s a way of honoring and preserving Southwestern culinary heritage for future meals.
Key Ingredient:
Roasted New Mexico Green Chiles – the star of the recipe, bringing smoky depth, gentle heat, and that unmistakable Southwestern flavor that defines authentic chile verde. Roasting enhances their natural sweetness while balancing the spice.
Garlic and Onion – these aromatics form the flavor foundation, adding warmth, sharpness, and savory depth that meld beautifully with the roasted chiles.
Canning Salt – a clean, non-iodized salt that not only seasons the dish but also helps preserve its freshness and stability for long-term storage.
Lemon Juice or Vinegar – beyond providing a safe acidity level for water-bath canning, this element brightens the chile verde, balancing the smoky heat with a refreshing tang.
Broth or Water – acts as the simmering medium that carries the roasted chile flavor, with broth lending extra savory richness while water keeps the profile clean and chile-forward.
Optional Herbs (Cumin, Oregano, Cilantro) – each adds nuance: cumin for earthiness, oregano for herbal depth, and cilantro for a burst of fresh, green brightness.
Expert Tips:
Choose your chiles wisely – New Mexico green chiles (Hatch, Big Jim, or Sandia varieties) vary in heat levels. Mixing mild and medium chiles creates depth without overwhelming spice. If you prefer a hotter profile, blend in a few hotter chiles, but always taste as you go.
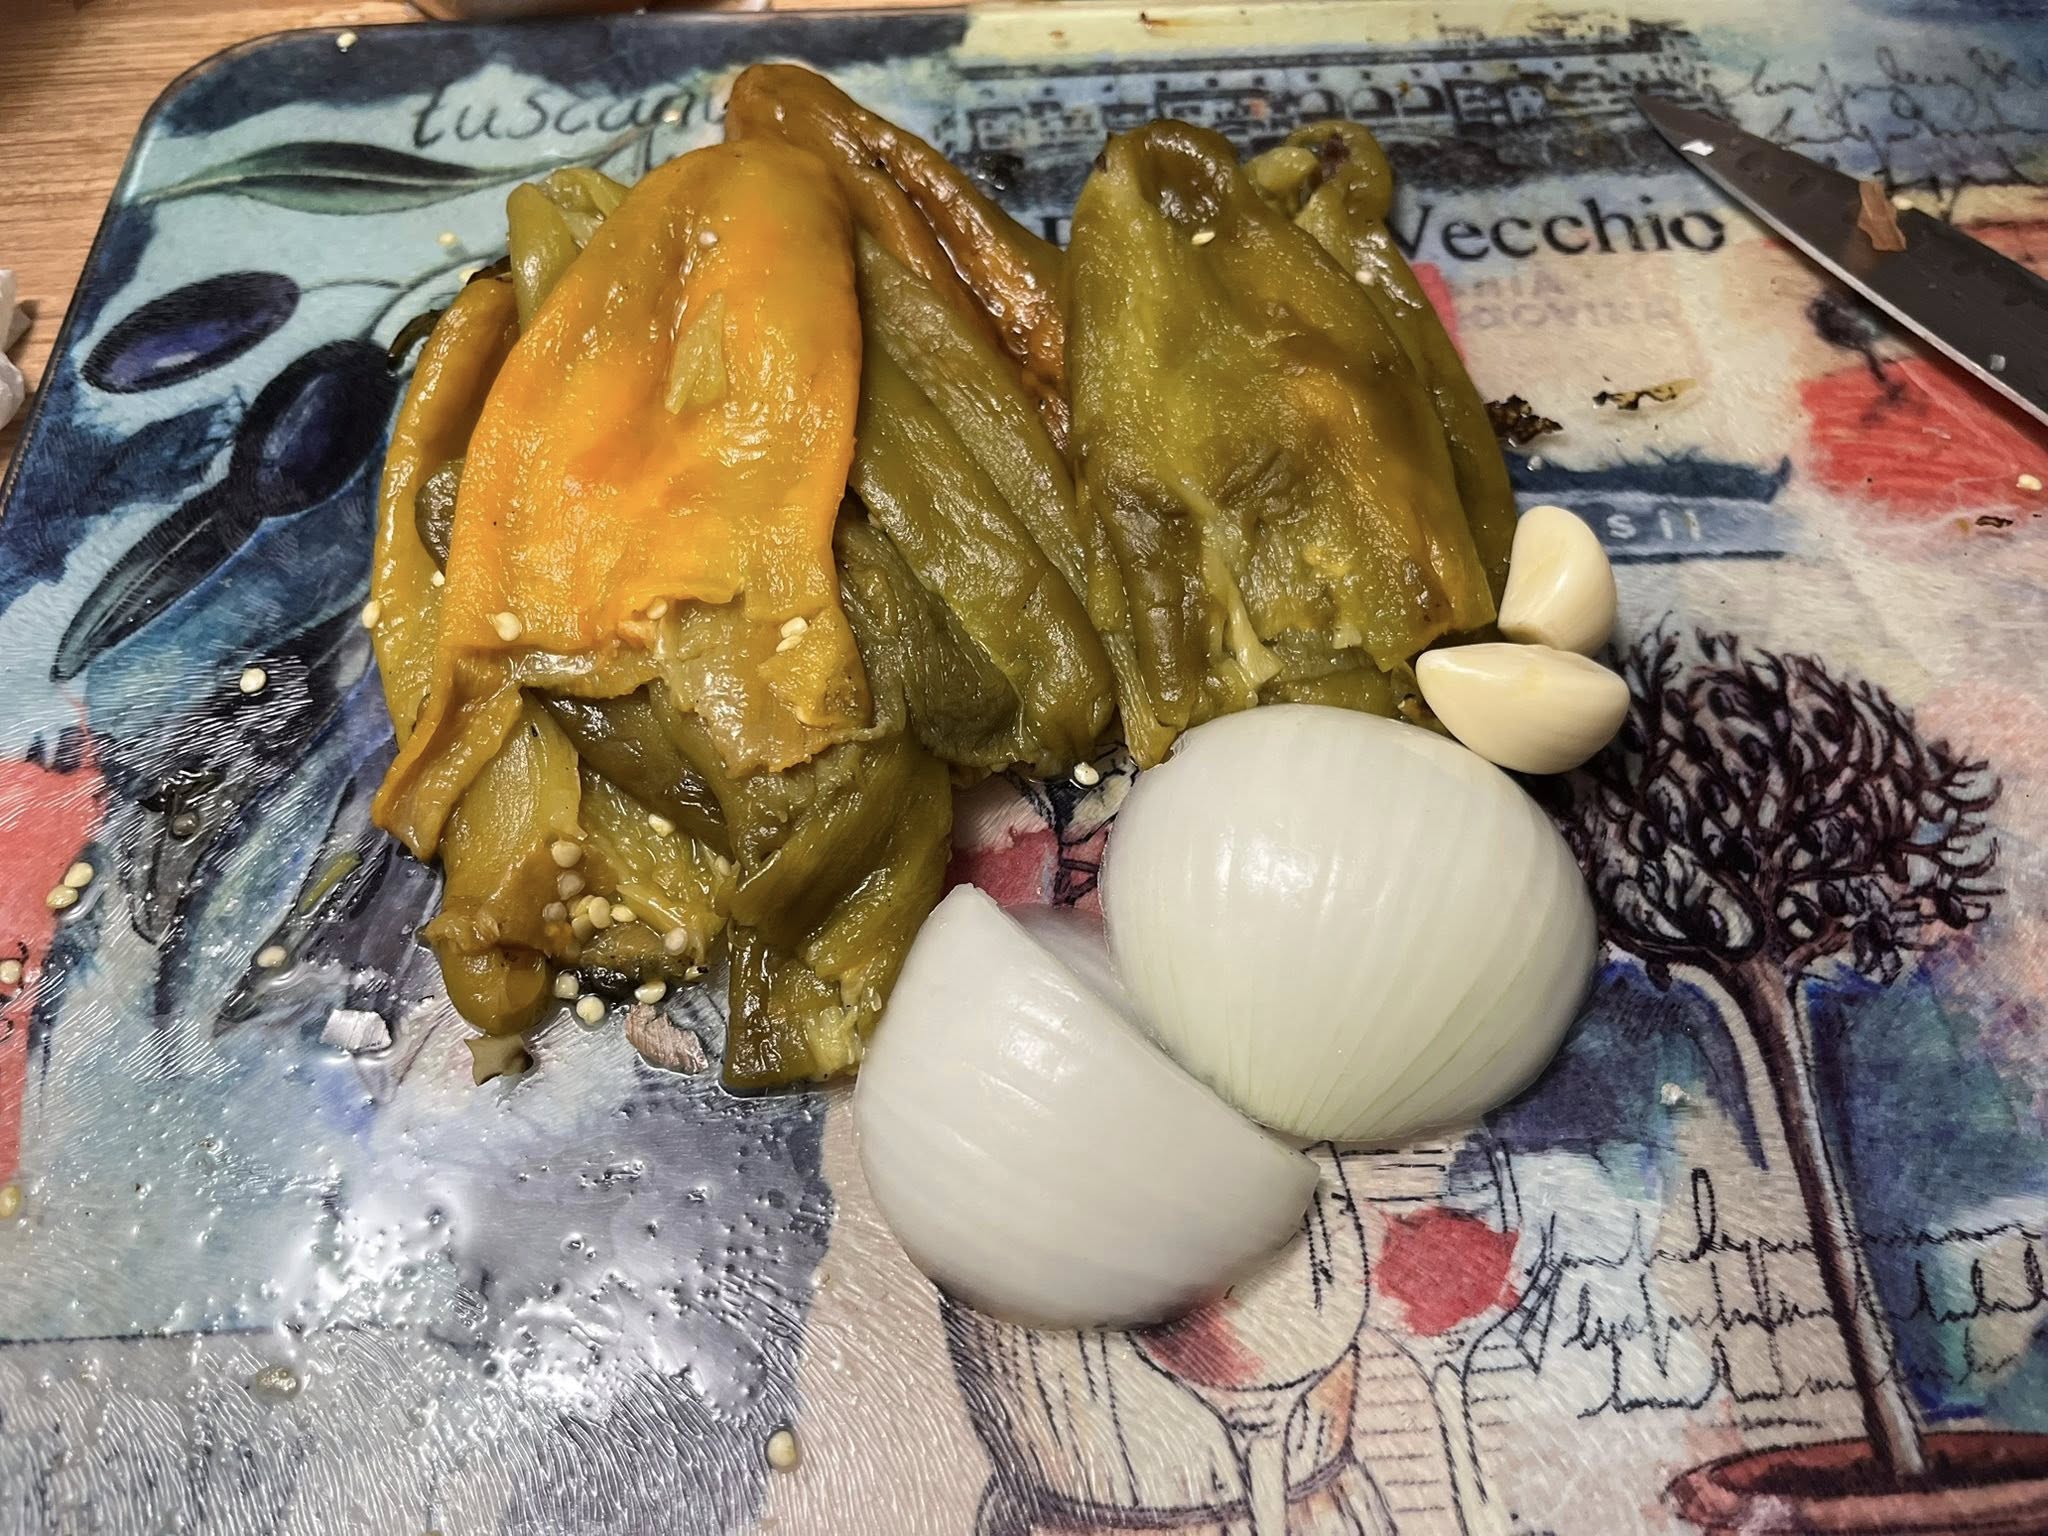
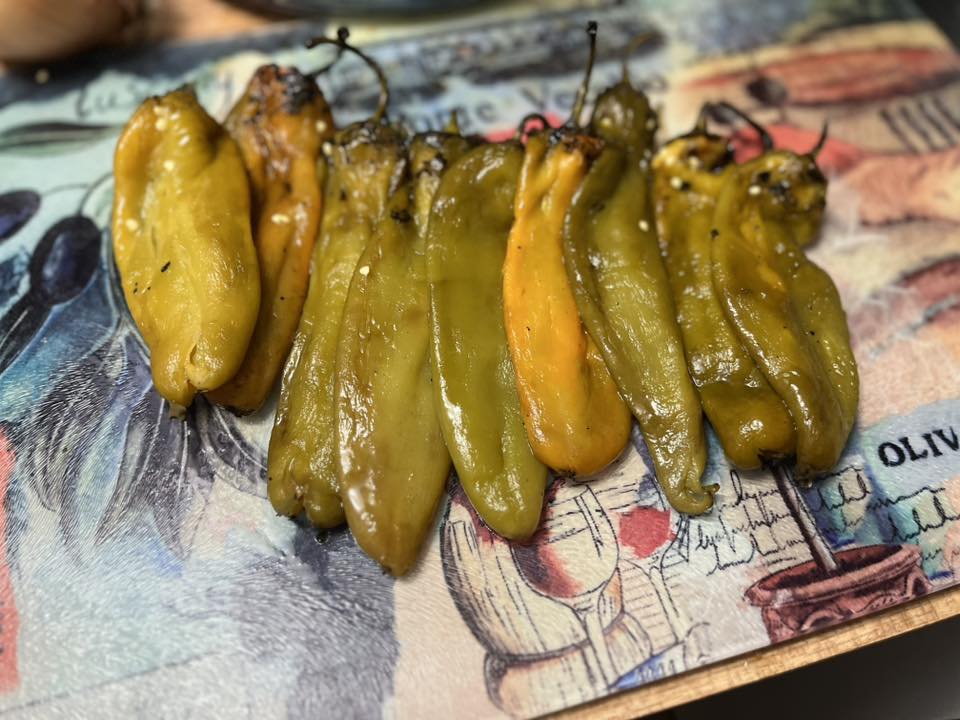
Roast for maximum flavor – Proper roasting is key. Char the skins until blistered and blackened, then let them steam in a covered bowl or bag for 20 minutes. This not only loosens the skins for peeling but also deepens the smoky, earthy flavor of the chile verde.
Acid balance is crucial – If water-bath canning, always add bottled lemon juice or 5% white vinegar for safe acidity. Bottled acid sources are recommended because they have standardized pH, unlike fresh lemon or lime juice, which can vary. This ensures shelf stability and safety.
Broth vs. water decisions – Using chicken broth enhances the savory depth and rounds out the chile’s heat, while water keeps the flavor profile chile-forward and clean. Choose based on whether you want a bold soup/stew base or a more neutral green chile sauce.
Simmer for flavor fusion – Allowing the chile verde to simmer uncovered for at least 20–30 minutes reduces excess liquid and intensifies the roasted chile character. Longer simmering (up to an hour) creates a more concentrated, restaurant-style flavor.
Adjust for altitude – When pressure canning, always adjust pounds of pressure to match your altitude. Not doing so may risk underprocessing and unsafe storage.
Customize with herbs – Cumin brings earthiness, oregano adds herbal depth, and cilantro offers freshness. Add them toward the end of cooking to preserve their aromatics rather than simmering them away.
Freeze if not canning – If you prefer not to can, this chile verde freezes beautifully. Portion it into freezer-safe containers or bags, leaving some headspace for expansion.
Canning Recipe: Green Chile Chile Verde
Ingredients
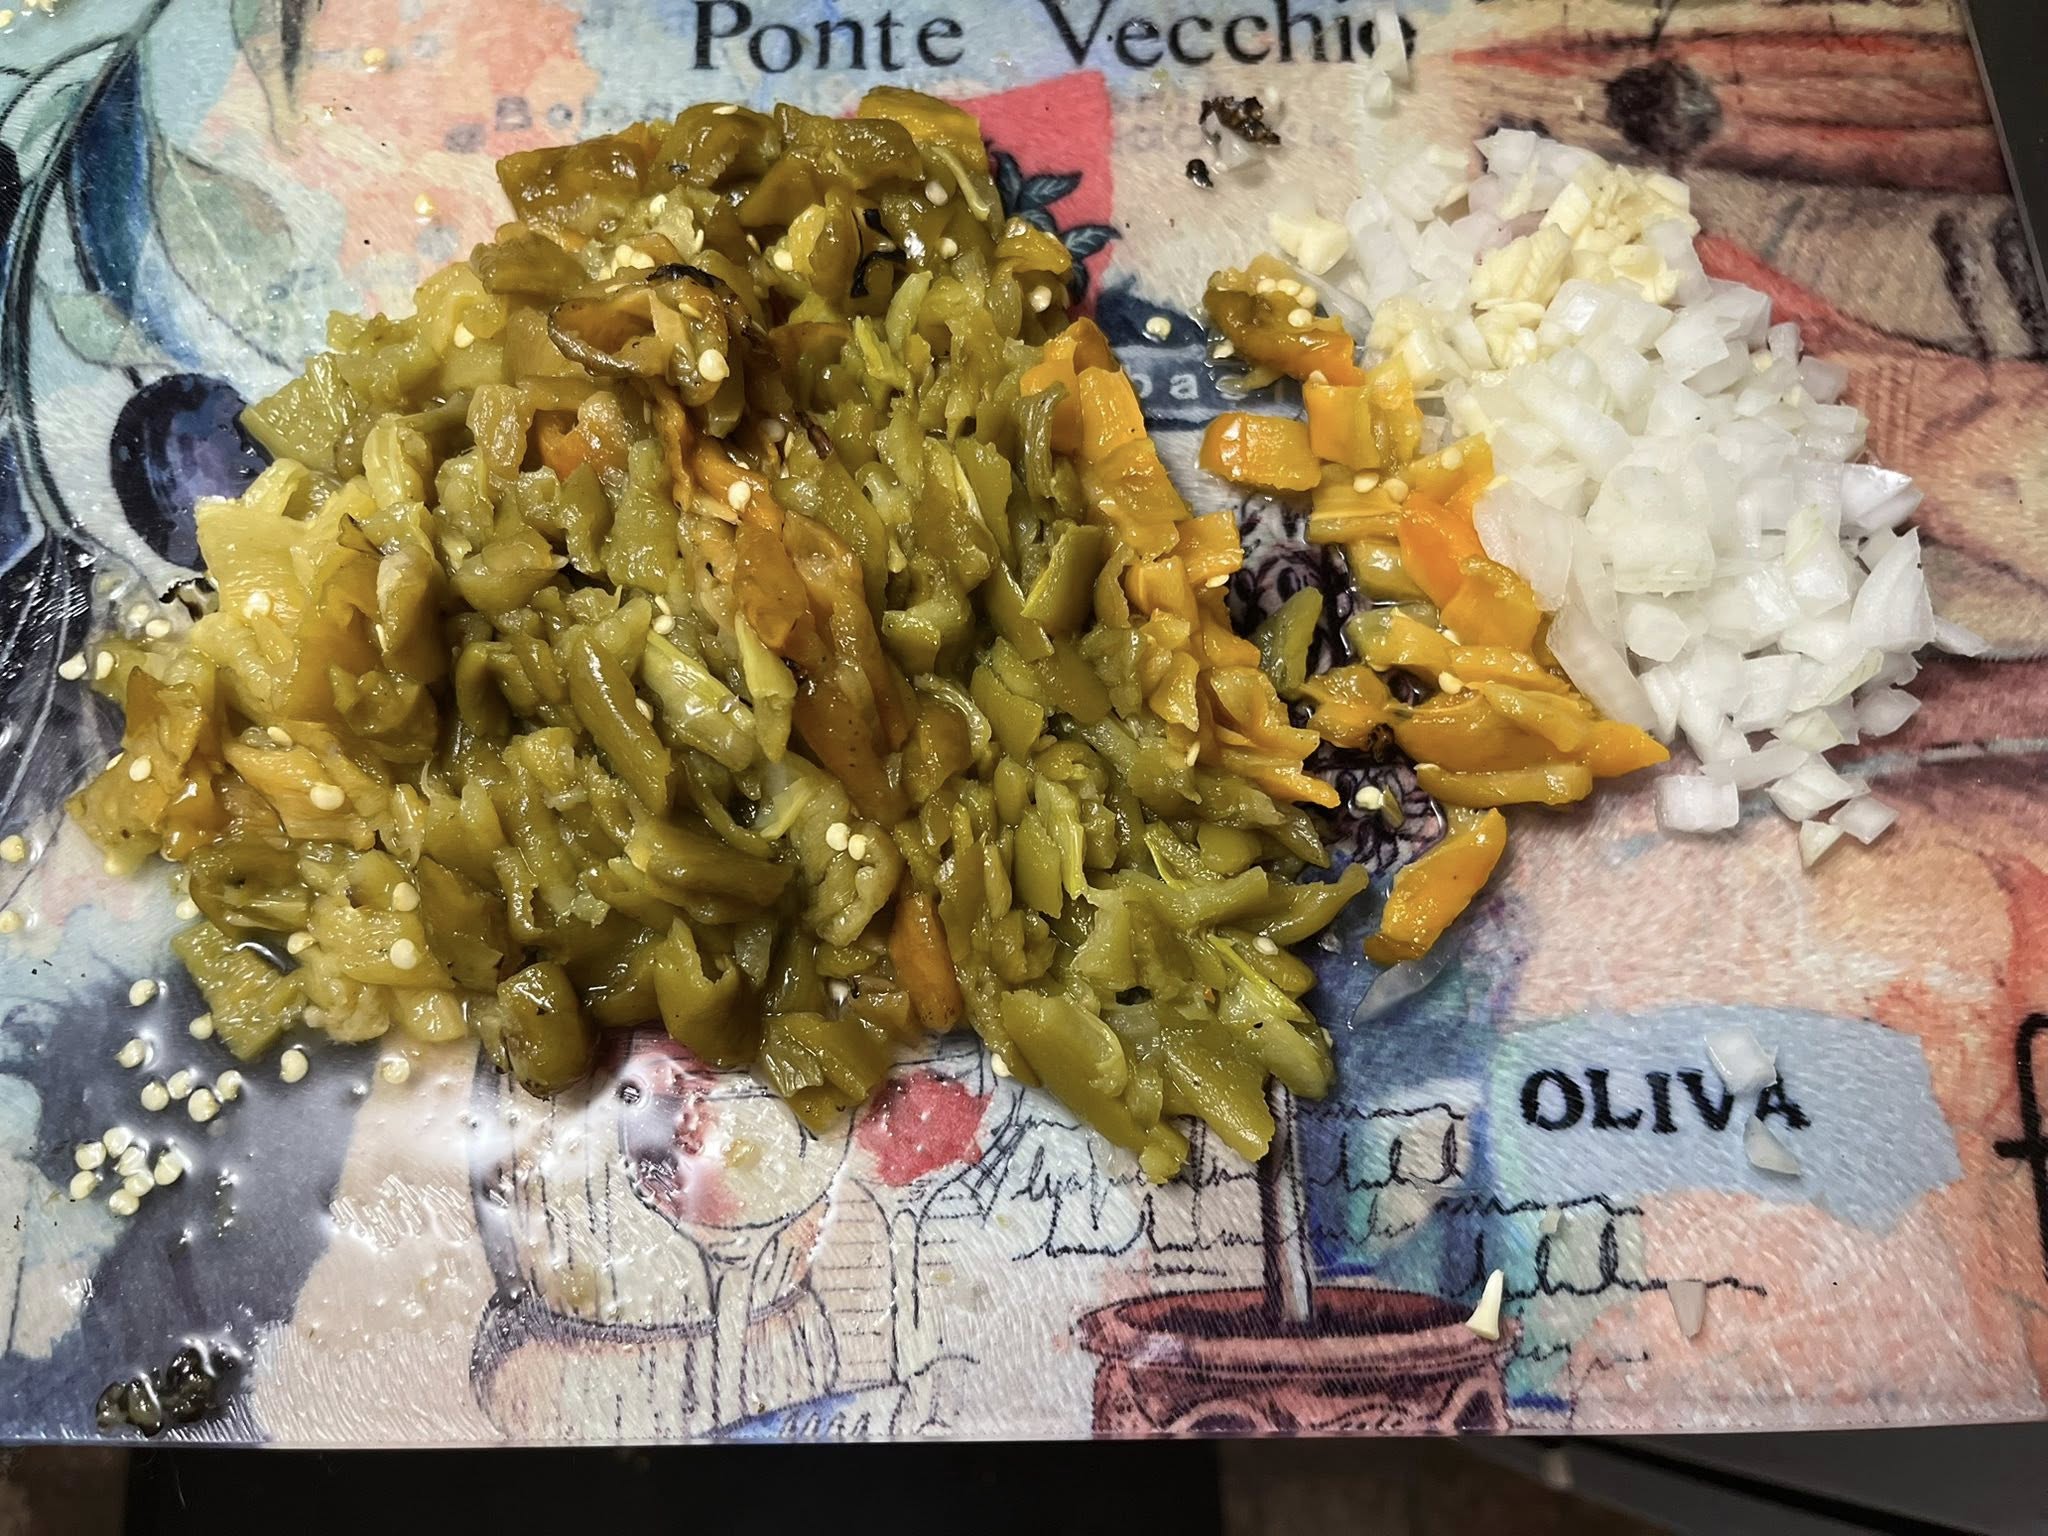
8–10 roasted New Mexico green chiles, peeled, seeded, and chopped
2 cloves garlic, minced
1/2 medium onion, diced
1 tsp onion powder
1 tsp garlic powder
3–3 1/2 cups water or chicken stock (low-sodium if stock)
2 tsp canning salt (non-iodized, adjust to taste after opening jar)
2–3 Tbsp bottled lemon juice or 2–3 Tbsp 5% white vinegar (for acid balance if water-bath canning)
Optional: cumin, oregano, or cilantro
Cooking Instructions
In a heavy pot, sauté onions and garlic in a little oil until translucent.
Stir in chopped roasted chile, onion powder, and garlic powder. Cook 2–3 minutes.
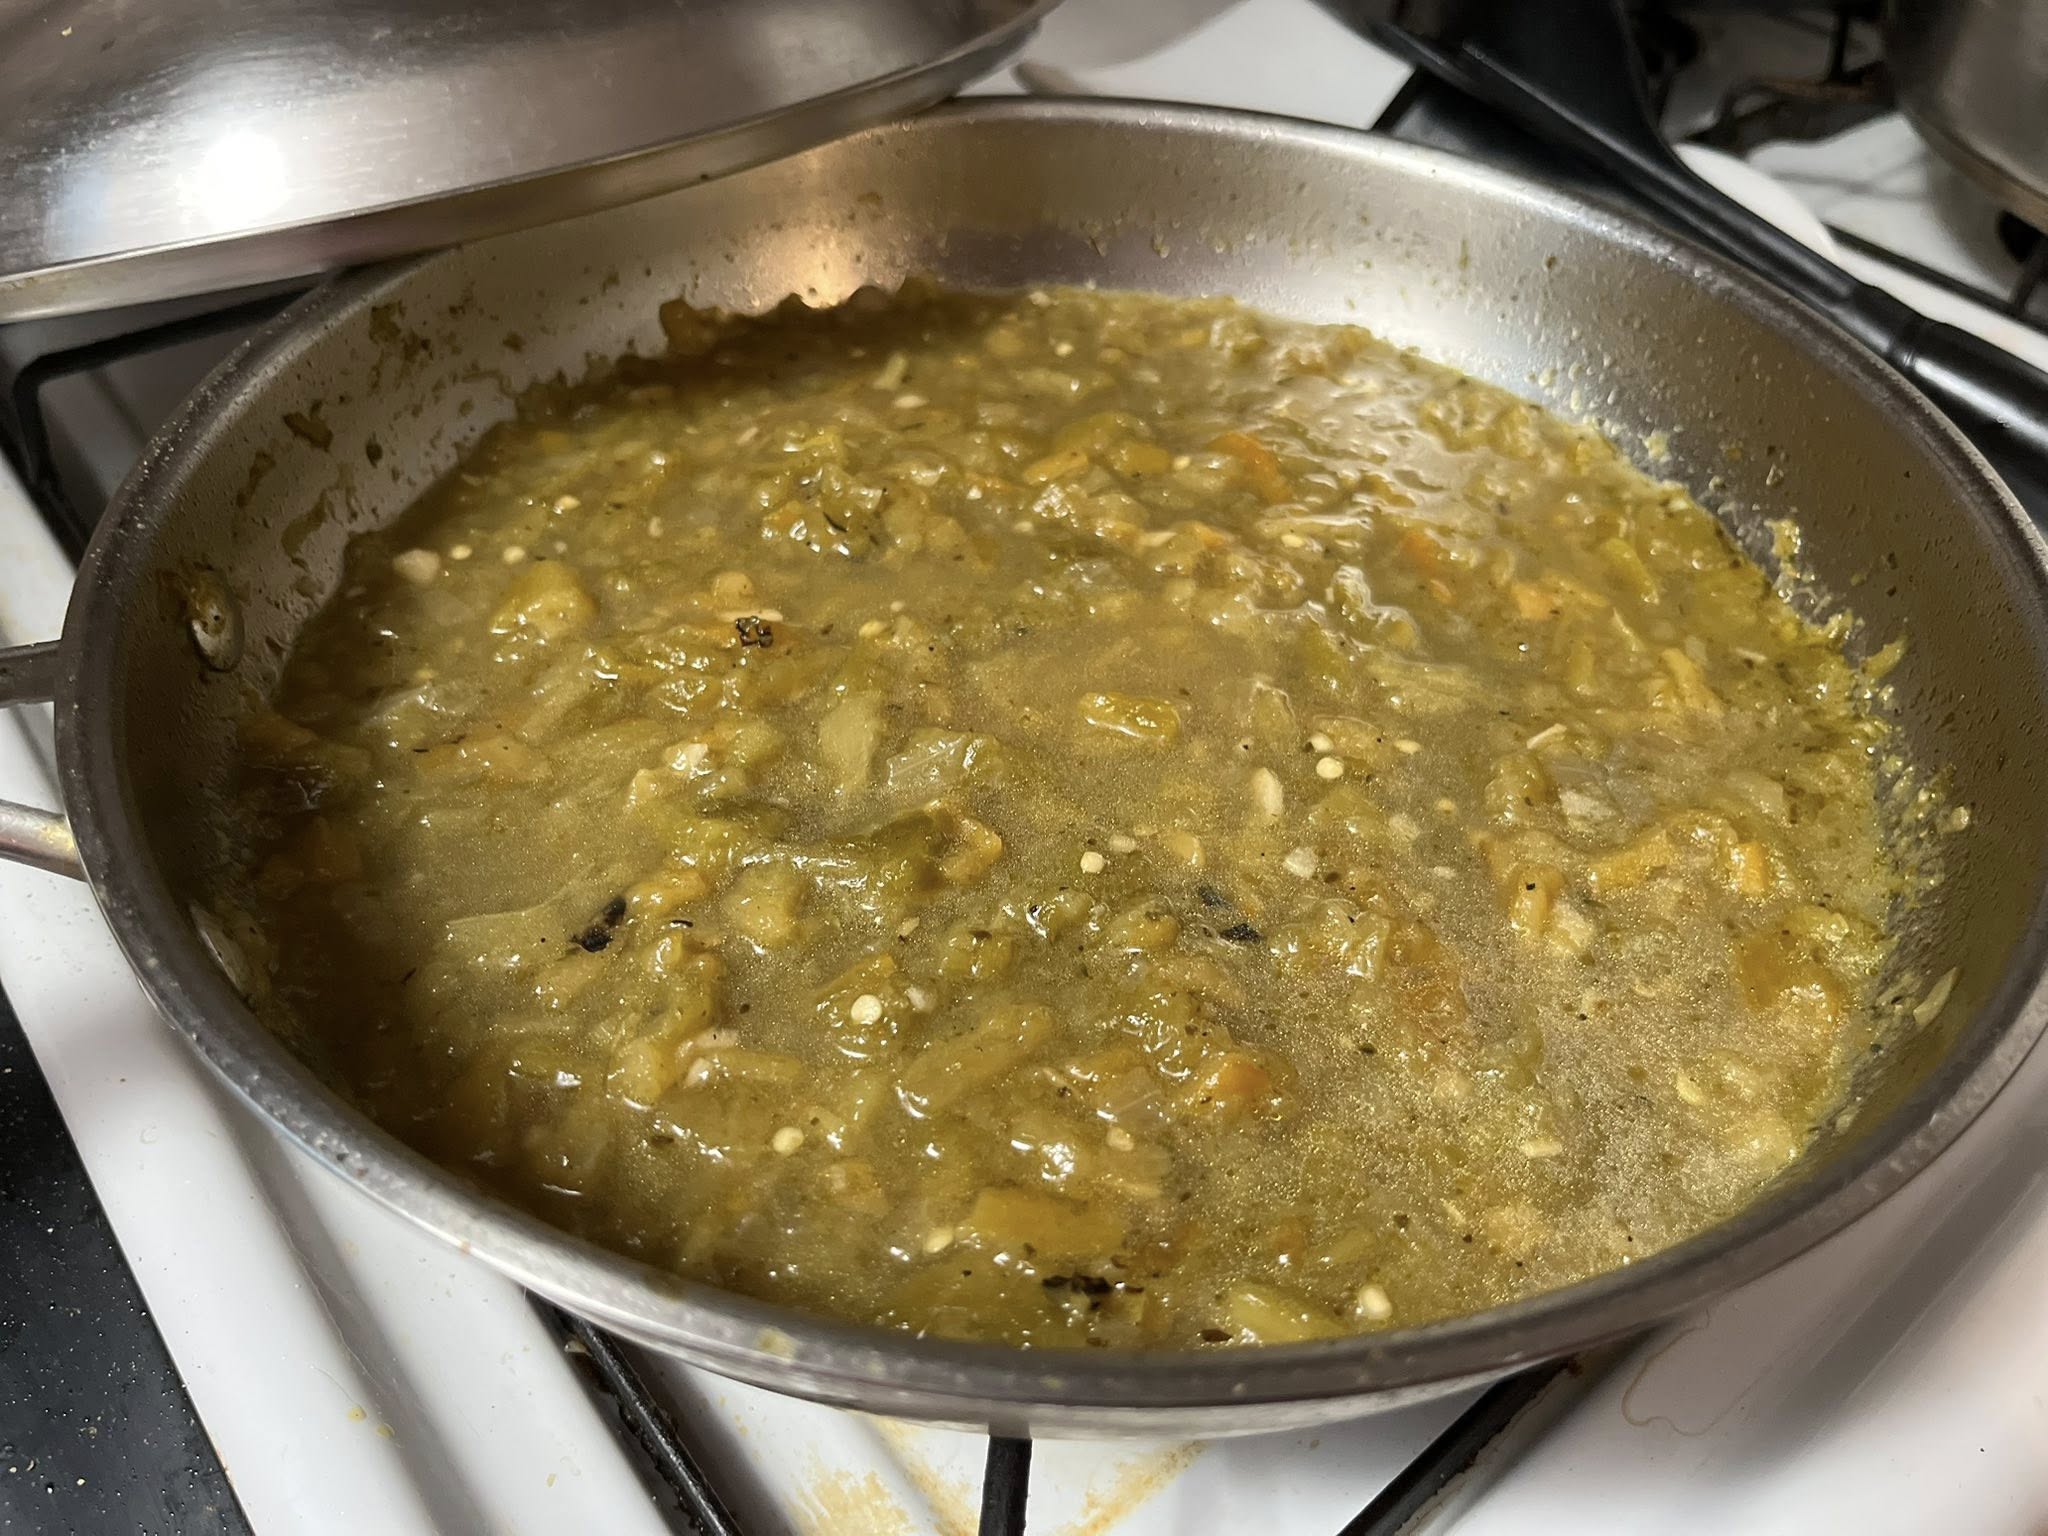
Add water/stock, salt, and bring to a simmer. Cook uncovered 20–30 minutes until flavors meld.
Stir in lemon juice or vinegar if you plan to water-bath can. (If using a pressure canner, you can skip the added acid unless you like the flavor balance.)
Canning Instructions
For Water-Bath Canning (requires added acid):
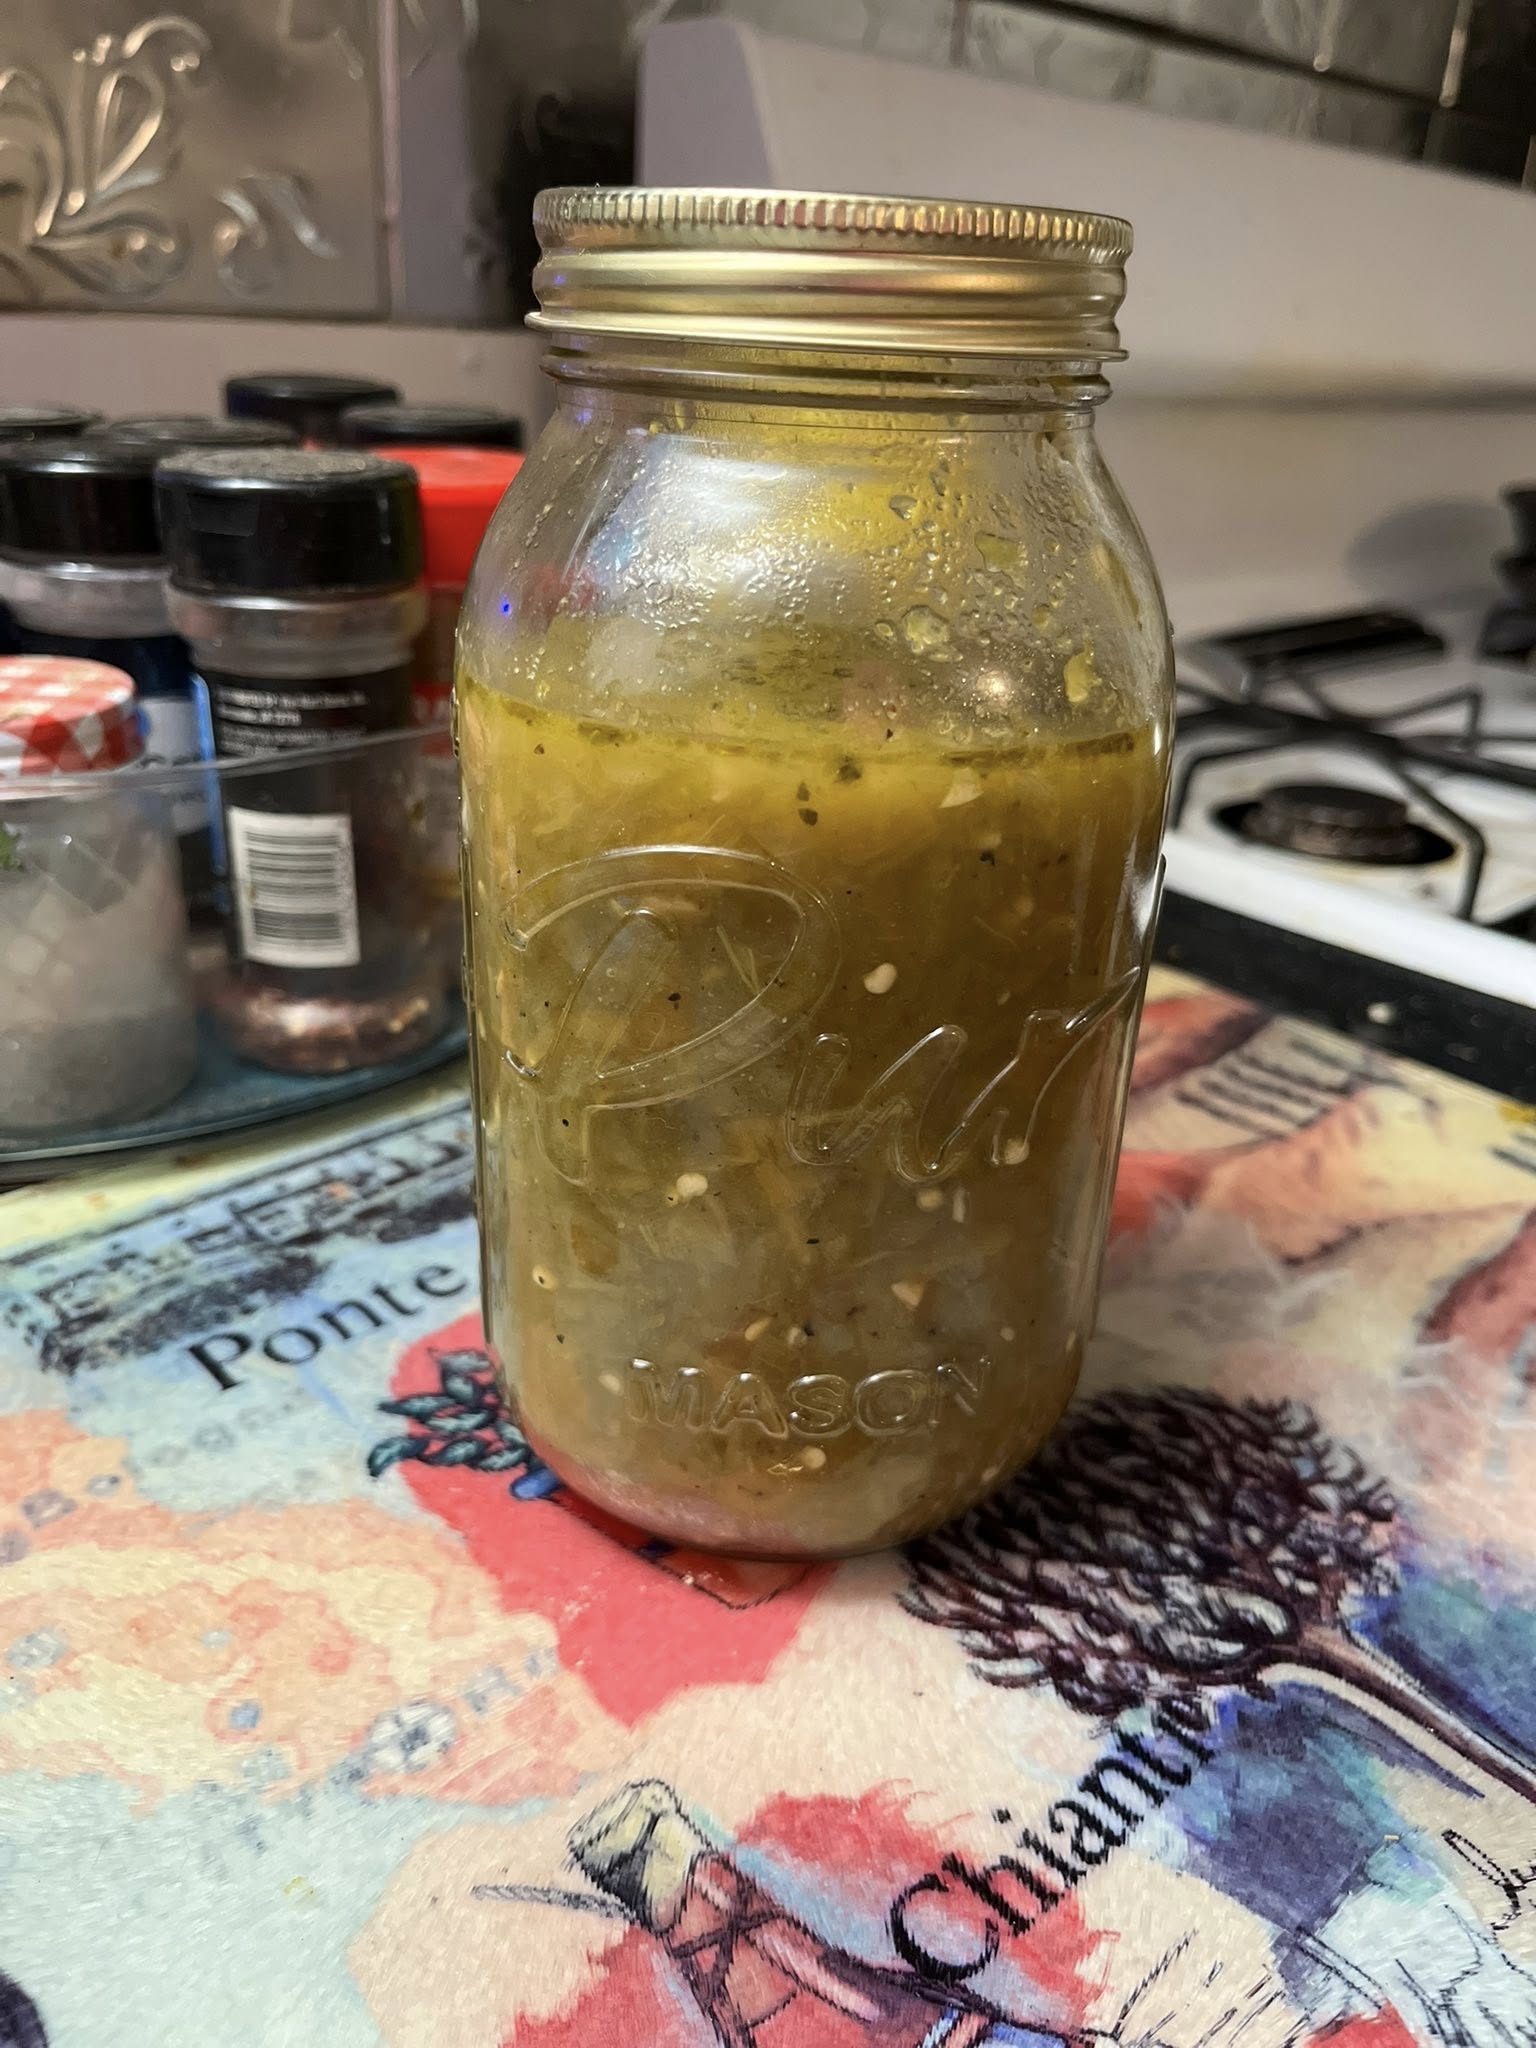
Ladle hot chile verde into sterilized pint jars, leaving 1/2 inch headspace.
Process in a boiling water bath for 40 minutes (pints) or 45 minutes (quarts).
Cool, check seals, and store in a cool, dark place.
For Pressure Canning (no added acid required):
Fill hot chile verde into pint jars, leaving 1 inch headspace.
Process at 10 lbs pressure (dial gauge) or 15 lbs (weighted gauge) for:
Pints: 55 minutes
Quarts: 90 minutes
Adjust pressure for altitude if above 1,000 ft.
Storage
Sealed jars: up to 12–18 months in a cool, dark pantry.
Opened jars: refrigerate and use within 7–10 days.
Important Notes When Making Canning Green Chile Chile Verde:
Safety in Canning – The acidity level is critical. If you are water-bath canning, you must add bottled lemon juice or 5% vinegar as directed. Do not reduce or substitute with fresh citrus because pH can vary, and safety depends on consistent acidity levels.
Salt Choice Matters – Always use canning salt or non-iodized salt. Table salt contains anti-caking agents and iodine, which can cloud the liquid and alter flavor. Canning salt ensures clarity and purity in your jars.
Handling Chiles – Wear gloves when peeling and seeding roasted green chiles. Capsaicin oils can linger on the skin and cause irritation long after cooking if it comes in contact with your eyes or face.
Texture Control – For a thicker sauce, simmer uncovered longer before canning to allow liquid reduction. If you prefer a thinner sauce, add a little extra broth or water. Avoid thickening with flour or cornstarch before canning, as this affects heat penetration and food safety.
Altitude Adjustments – If you live above 1,000 ft elevation, you must increase pressure (for pressure canning) or time (for water-bath canning). Skipping this step can result in underprocessed jars and unsafe food storage.
Versatility of Use – This recipe works as a sauce, base for stews, enchilada filling, or even a topping for eggs and burritos. Keeping this versatility in mind allows you to batch can with multiple future uses.
Storage Guidelines – Sealed jars should be kept in a cool, dark pantry for up to 12–18 months. Once opened, refrigerate and consume within 7–10 days. If any jar loses its seal, discard the contents immediately.
Flavor Adjustments After Opening – Because canning recipes are limited in seasoning adjustments for safety, you can always enhance flavor after opening. Stir in fresh herbs, roasted garlic, cumin, or lime juice when reheating for a brighter, more customized taste.
How To Enjoy Green Chile Chile Verde After Cooking:
As a Classic Mexican-Inspired Sauce
Smothered Burritos or Enchiladas – Pour heated chile verde generously over tortillas stuffed with beans, cheese, or meat, then bake with extra cheese on top.
Taco Booster – Use a spoonful as a topping for chicken, beef, or veggie tacos. It adds smoky, tangy heat that elevates even simple fillings.
As a Hearty Base for Meals
Chile Verde Stew – Simmer the sauce with chunks of pork, chicken, or potatoes for a complete, comforting stew.
Soup Starter – Add beans, corn, and broth to turn it into a spicy, brothy soup that feels homemade in minutes.
With Proteins
Over Grilled Meats – Drizzle warm chile verde over grilled steak, chicken, or fish for a vibrant finishing sauce.
Eggs & Breakfast Dishes – Use it as a topping for huevos rancheros, breakfast burritos, or even scrambled eggs for a spicy morning kick.
With Carbs and Grains
Rice or Quinoa Bowl – Pour chile verde over fluffy rice, quinoa, or farro, then top with fresh avocado, cheese, or cilantro for a fast grain bowl.
Nacho Layering – Spread over tortilla chips with cheese, beans, and jalapeños before baking for chile verde nachos.
Fresh Pairings
Salad Dressing Twist – Whisk with olive oil and lime juice to create a smoky-spicy vinaigrette for roasted vegetable salads.
Dipping Sauce – Use as a dip for warm tortillas, empanadas, or quesadillas.
Creative Uses
Pizza or Flatbread Base – Replace traditional tomato sauce with chile verde for a bold southwestern-style pizza.
Burger or Sandwich Spread – Mix with mayo or sour cream for a zesty spread on burgers, sliders, or tortas.
Pro Tip: Since the flavor deepens after canning, always taste before serving. Add fresh cilantro, a squeeze of lime, or crumbled queso fresco to brighten it right before eating.
Nutrition Information:
For Canning Recipe: Green Chile Chile Verde (per 1-cup serving, prepared as written with green chiles, onion, garlic, broth, and seasonings):
Calories: 85 kcal | Total Fat: 2.8 g | Saturated Fat: 0.5 g | Monounsaturated Fat: 1.4 g | Polyunsaturated Fat: 0.5 g | Cholesterol: 0 mg | Sodium: 520–680 mg (depending on broth and added salt) | Total Carbohydrates: 13 g | Dietary Fiber: 3.2 g | Sugars: 6 g | Protein: 3.2 g
Frequently Asked Questions:
Can I use different types of green chiles instead of New Mexico chiles?
Yes. While traditional New Mexico green chiles give the dish its signature flavor, you can substitute with Hatch, Anaheim, or Poblano peppers depending on availability. Each variety will alter the heat level and depth of flavor slightly, so choose based on your taste preference.
Why is added acid (lemon juice or vinegar) required for water-bath canning?
The acid ensures the mixture reaches a safe pH level to prevent harmful bacteria, especially botulism, from developing during storage. If you plan to use a pressure canner, you don’t need to add extra acid, though some cooks like the tangy brightness it brings.
How long does canned chile verde last once sealed?
Properly canned jars stored in a cool, dark place can last 12–18 months. Always check for proper seals before use, and once opened, refrigerate the jar and use within 7–10 days.
Can I add meat, like pork or chicken, before canning this recipe?
It’s best not to add meat when using a water-bath method, as it isn’t safe for low-acid foods. However, if you want to add meat, you must use a pressure canner with proper processing times to ensure food safety.
What are some ways to use canned green chile verde after opening?
It’s incredibly versatile! Use it as a base for pork or chicken stew, spoon it over eggs, mix it into rice, layer it into enchiladas, or even use it as a topping for nachos or baked potatoes. The flavor deepens the longer it sits, making it even better after canning.
Do I need to peel the roasted chiles before using them?
Yes. Removing the blistered skin after roasting is essential, as it can be tough and bitter in the final dish. Covering the chiles with foil or placing them in a sealed bag after roasting makes peeling easier by steaming the skins loose.
Can I use fresh, raw chiles instead of roasted ones?
Roasting is highly recommended because it develops a smoky depth of flavor that raw chiles cannot provide. If you skip roasting, the soup will taste sharper and more vegetal. For authentic chile verde flavor, always roast first.
How can I adjust the thickness of the chile verde before canning?
If the mixture feels too thin, simmer uncovered for longer to allow evaporation. For a thicker consistency, you can also make a light flour slurry (as included in the recipe) to add body. Remember, the consistency should remain pourable for safe canning.
Is it better to use broth, beer, or water for the liquid base?
It depends on the flavor profile you want:
- Broth adds richness and depth.
- Beer introduces earthy, malty notes for a rustic taste.
- Water keeps the flavor of the green chiles as the main star.
Many cooks blend broth and beer for balance.
How can I control the spice level while making the chile verde?
The heat comes from the type and amount of chiles used. For a milder dish, stick with Hatch or Anaheim chiles and remove all seeds and membranes. For spicier results, mix in hotter peppers like jalapeños or serranos. Always taste as you go—adjusting spice before canning is much easier than after.