Hatch Chile Grilled Cheese Sandwich
This flavorful Hatch Chile Grilled Cheese Sandwich takes your classic comfort food to a whole new level by incorporating the smoky, earthy heat of Hatch chiles.
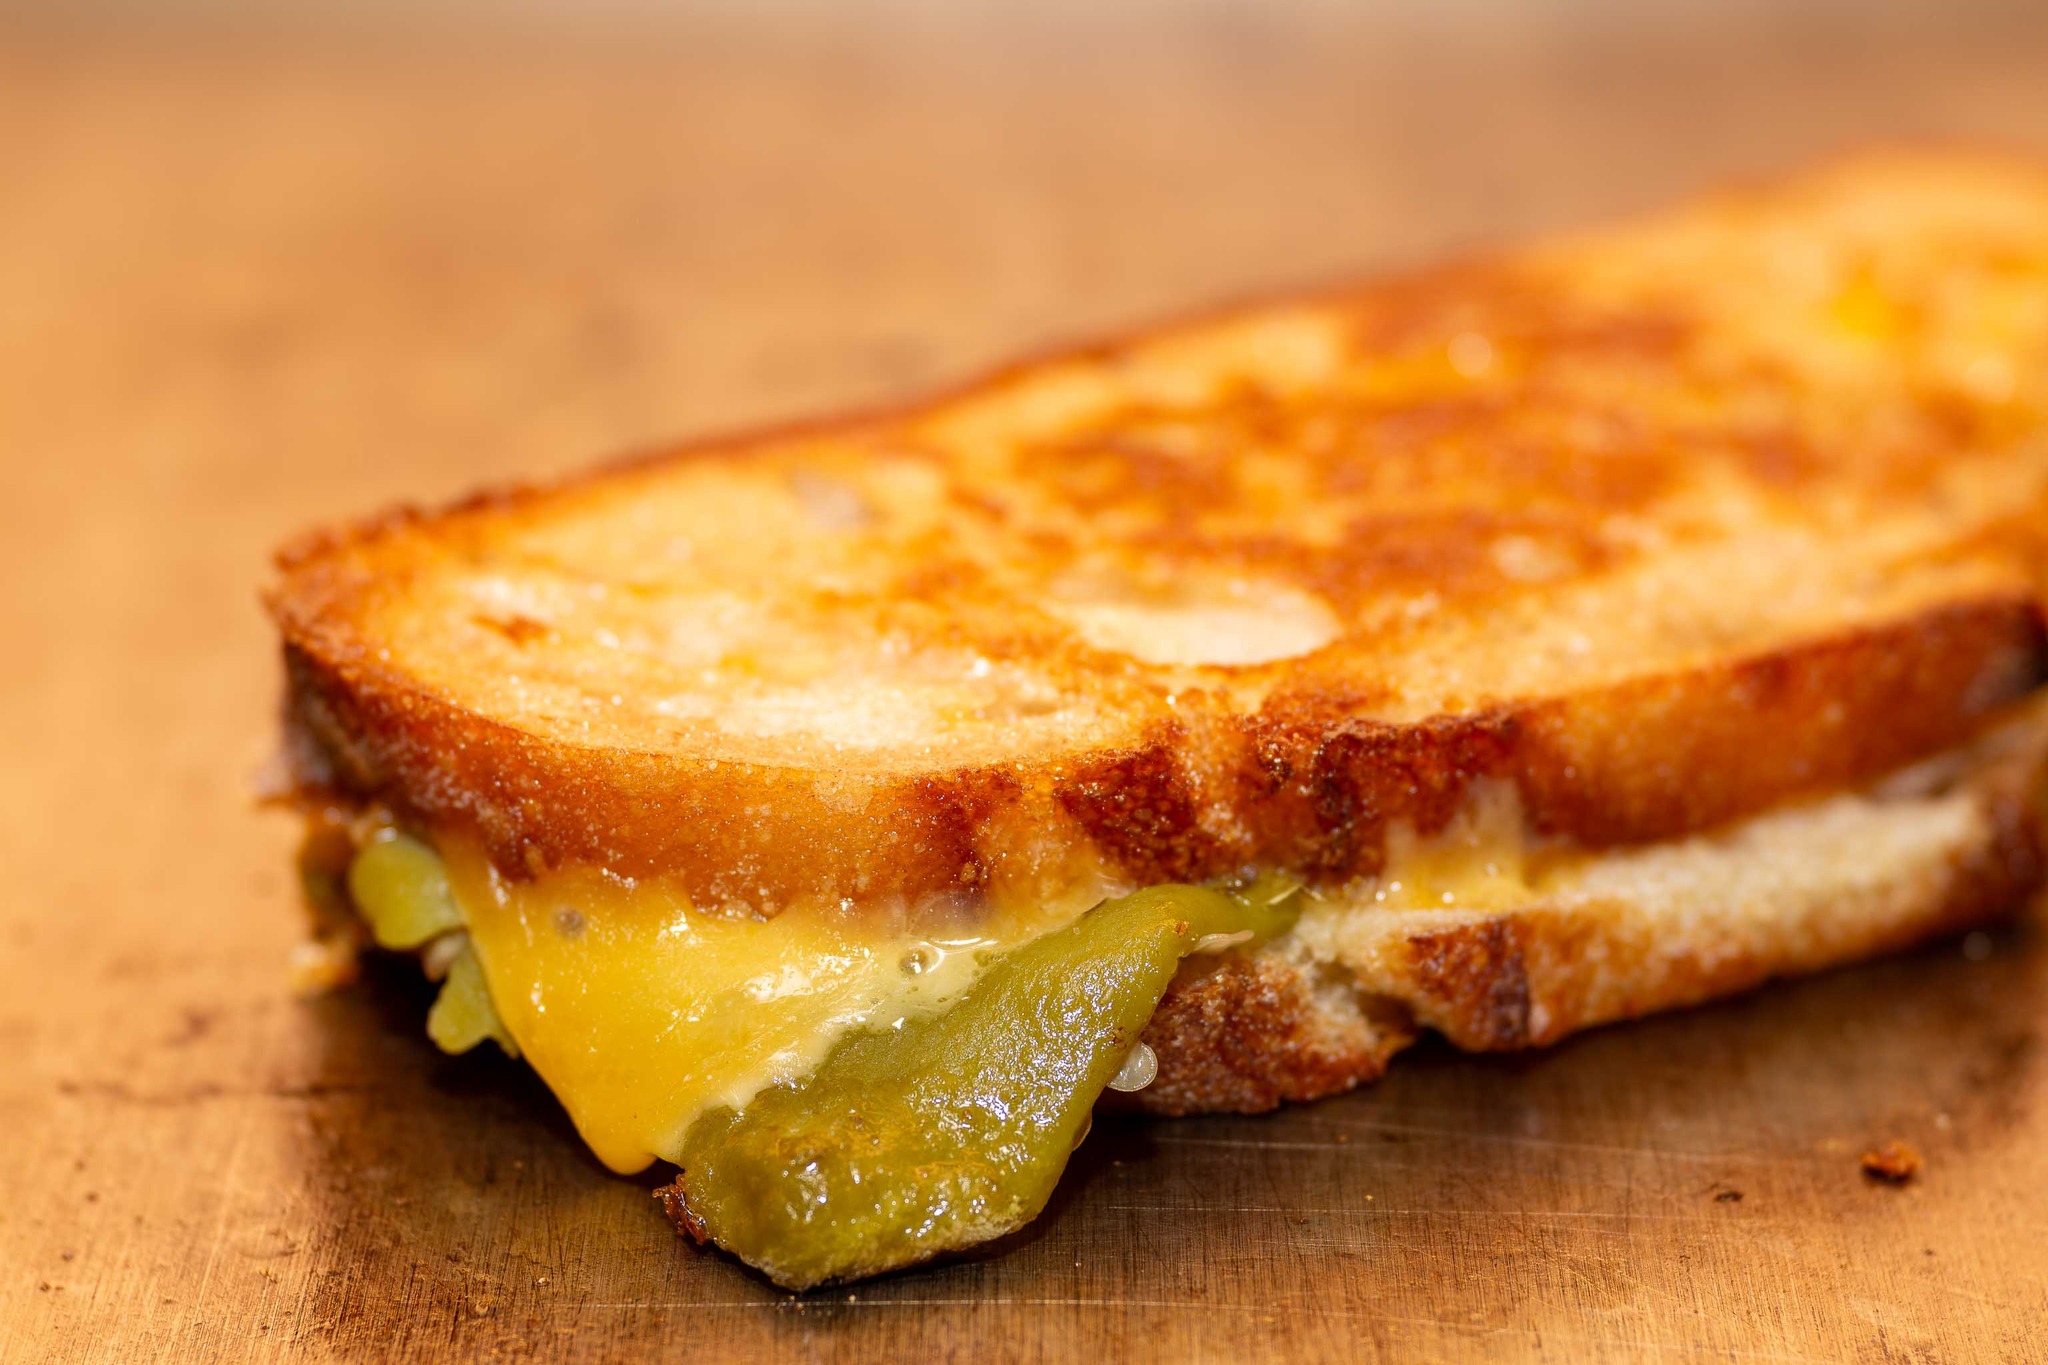
Paired with melted mild cheddar cheese, it’s sandwiched between slices of homemade sourdough bread, offering a satisfying balance of spicy and cheesy goodness.
Whether you’re craving something a bit more exciting than a regular grilled cheese or looking to enjoy the warmth of Hatch chiles, this recipe is sure to satisfy. Perfect for a cozy meal, this sandwich is an easy way to enjoy bold, Southwestern flavors.
Why You’ll Love This Recipe:
People will love this Hatch Chile Grilled Cheese Sandwich because it combines the rich, comforting taste of classic grilled cheese with the smoky, spicy kick of Hatch chiles.
The homemade sourdough bread adds a deliciously tangy and hearty texture, while the mild cheddar cheese melts perfectly to complement the flavors.
The Hatch chiles bring just the right amount of heat without overwhelming the dish, making it a flavorful yet balanced meal.
It’s a perfect option for those who want a twist on a beloved favorite with the added satisfaction of freshly baked bread and a zesty, flavorful filling.
Key Ingredients:
Hatch chile: Adds a smoky and spicy flavor.
Mild cheddar cheese: Provides a creamy and melty texture.
Butter, margarine, or butter-flavored spray: For grilling the sandwich to golden perfection.
Homemade sourdough bread: Offers a tangy, hearty base for the sandwich.
Olive oil: Used in the sourdough bread dough for extra richness.
Hatch Chile Grilled Cheese Sandwich
Ingredients:
1 hatch chile, seeded, stemmed, and minced
3 slices of mild cheddar cheese
Butter, margarine, or butter flavored spray
2 slices of homemade sourdough bread
Ingredients for Homemade Sourdough Bread
⅔ cup (150 g) active starter bubbly, active, fed
1 ⅓ cups (315 g) warm 90F water
1 ½ (18 g) Tablesoons olive oil
3 ⅔ cups (450 g) bread flour
2 teaspoons (13 g) table salt
Oil for greasing pan
Additional flour for dusting work-surface
Instructions for Homemade Sourdough Bread
In a large mixing bowl, combine sourdough starter, water, and olive oil. Stir until combined.
Add bread flour and sprinkle salt overtop. Use your (clean) hands or a wooden spoon to stir together until dough is mostly combined. It will still be a bit shaggy and should not be cohesive (don’t over-mix) but no dry patches of flour should remain.
Cover bowl with plastic wrap and let sit undisturbed for one hour (this is the “autolyse” period).
Stretch & Fold
Form dough into a ball with your hands.
Run your hands under cool water (prevents sticking!) and grasp the top of the dough and stretch it over the bottom. Turn the dough 90 degrees and repeat. Turn 90 degrees and repeat again, then once more (four total stretch & folds).
Allow dough to rest, covered, in a warm place for 30 minutes.
Repeat step 2 above every 30 minutes as dough rises.
Allow dough to rise (stretching and folding every 30 minutes as indicated) until dough has increased in size about 80% (how long this takes depends on the temperature of your kitchen, typically mine is ready within 4-6 hours).
Forming the Dough
Lightly grease a 9×5 loaf pan (with olive oil or butter) .
Oil for greasing pan
When dough has risen sufficiently, turn it out onto a clean, lightly floured surface.
Additional flour for dusting work-surface
Use your hands to gently deflate the dough and pat it into a rectangular shape. Lift the right side of the dough and fold it into the center (almost as if you were closing a book). Then, lift the left side of the dough and fold it over the first fold (use a bench scraper if the dough is sticking to your counter).
Starting with a skinny end, tightly roll the dough, as if you were rolling up a cinnamon roll. Tuck the ends under and carefully transfer to prepared bread pan. Don’t worry if the bread doesn’t fill the pan right now.
Cover pan tightly with plastic wrap and transfer to the refrigerator to rest overnight/for 12-24 hours.
Baking
Remove sourdough from the refrigerator and preheat oven to 450F. Let oven preheat and dough rest (covered or uncovered) for at least 30-35 minutes before proceeding.
Once oven has preheated, uncover bread, make a clean slice (about ¼” deep) down the center with a sharp knife or bread lame (to score it) then cover with another 9×5 pan (if you don’t have a second pan, you may instead make a makeshift oven using aluminum foil; tent it as high as the bread pan is deep).
Transfer to center rack of preheated oven. Bake, covered, for 30 minutes then remove the lid and continue to bake another 20-23 minutes/until golden brown and the center of bread reaches 206-208F (97C).
Allow bread to cool in pan for 15 minutes before gently turning it out onto a cooling rack (careful, the pan will still be hot!) to cool for at least 1-2 hours (until it no longer feels warm) before cutting into it.
Notes for Sourdough Bread Recipe
To bake the same day:
Follow recipe through step 4 under the “Forming the Dough” section. Immediately after transferring dough to pan, preheat oven to 450F (230C). Allow dough to rest uncovered while oven preheats, at least 30 minutes. Once oven is preheated, follow directions in recipe starting with step 2 under the “Baking” section. Note that bread will not be as flavorful or nutritious & texture will not be as great if it is not allowed to sit in the fridge overnight.
Storing & Freezing
Store in an airtight container at room temperature for up to a week.
You may also freeze this bread. Freeze the whole loaf by wrapping tightly in plastic wrap and then wrapping in foil. When ready to thaw, keep covered completely and defrost at room temperature before unwrapping.
We prefer to freeze pre-sliced: Cut bread into slices and storing in a plastic Ziploc bag (remove as much air as you can before freezing). If you struggle with freezer burn or plan to freeze the bread longer than a few weeks, you can individually wrap each slice in plastic wrap before closing in the plastic bag.
Nutrition for Sourdough Bread
Serving: 1loaf | Calories: 1820kcal | Carbohydrates: 364g | Protein: 59g | Fat: 10g | Saturated Fat: 1g | Polyunsaturated Fat: 3g | Monounsaturated Fat: 2g | Sodium: 4678mg | Potassium: 459mg | Fiber: 12g | Sugar: 1g | Vitamin A: 9IU | Calcium: 81mg | Iron: 4mg
Instructions for Hatch Chile Grilled Cheese Sandwich
Coat both sides of both slices of bread with butter or butter substitute.
Lay two slices of cheese on top of one slice of bread.
Spread green chiles on top of cheese and cover with third slice.
Top it all off with the other slice of bread.
Place the sandwich in a skillet or frying pan over medium heat. Let the first side of the sandwich fry in the pan for a few moments, flip it, and let the other side do the same.
Enjoy!
Notes:
Ingredient Selection: Use fresh hatch chiles for the best flavor. Mild cheddar cheese pairs well with the subtle heat of the chiles. Mrs. Baird’s Honey Wheat bread adds a hint of sweetness to balance the savory and spicy flavors.
Preparation: Coating both sides of the bread with butter ensures a crispy and golden-brown exterior when grilled. You can also use margarine or butter-flavored spray as substitutes.
Layering: Layering the cheese and minced hatch chiles evenly ensures that every bite is flavorful and satisfying. Consider adding more or fewer chiles based on your preference for spice.
Grilling: Cooking the sandwich in a skillet or frying pan over medium heat allows the cheese to melt evenly while the bread becomes crispy and golden. Flip the sandwich carefully to ensure both sides are cooked to perfection.
Customization: Feel free to customize the recipe by adding other ingredients such as sliced tomatoes, avocado, or cooked bacon for extra flavor and texture.
Serving: Serve the grilled cheese sandwich hot off the skillet for the best taste and texture. Pair it with your favorite side dish or enjoy it on its own for a satisfying meal.
Variations: Experiment with different types of cheese or bread to create unique flavor combinations. You can also try using roasted hatch chiles for a smokier flavor profile.
Storage: If you have any leftovers, store them in an airtight container in the refrigerator. Reheat the sandwich in a toaster oven or microwave for a quick and delicious meal.
Accompaniments: Serve the grilled cheese sandwich with a side of soup, salad, or potato chips for a complete and satisfying meal.
Enjoyment: Sit back, relax, and savor every bite of this delicious grilled cheese sandwich, filled with gooey melted cheese and flavorful hatch chiles.
Nutrition Information:
Calories: 380 | Total Fat: 20g | Saturated Fat: 11g | Trans Fat: 0g | Cholesterol: 55mg | Sodium: 670mg | Total Carbohydrates: 32g | Dietary Fiber: 5g | Sugars: 5g | Protein: 17g
Frequently Asked Questions:
Can I use a different type of cheese?
Yes, you can experiment with different types of cheese according to your preference.
However, mild cheddar cheese complements the hatch chile flavor nicely.
What if I can’t find hatch chiles?
If you can’t find hatch chiles, you can substitute them with other types of green chiles or even jalapeños for a similar flavor profile.
Is Mrs. Baird’s Honey Wheat bread necessary, or can I use any type of bread?
You can use any type of bread you prefer, but the honey wheat bread adds a subtle sweetness that complements the savory and spicy flavors of the sandwich.
Can I make this sandwich vegetarian or vegan?
Yes, you can make a vegetarian version by omitting the butter and using a vegan cheese substitute.
Ensure that all ingredients are plant-based if you want to make it vegan.
How spicy is the sandwich with the hatch chiles?
The spiciness level can vary depending on the heat of the hatch chile and your personal preference.
Adjust the amount of chiles according to your tolerance for heat.
Can I grill the sandwich instead of using a skillet?
Yes, you can grill the sandwich on a panini press or a grill pan for added char marks and texture.
What side dishes pair well with this sandwich?
Side dishes like a simple green salad, sweet potato fries, or a bowl of tomato soup complement the flavors of the grilled cheese sandwich.
How do I store leftovers?
Store any leftover sandwiches in an airtight container in the refrigerator for up to two days.
Reheat them in a toaster oven or microwave before serving.
Can I freeze the sandwiches for later use?
While it’s best to enjoy grilled cheese sandwiches fresh, you can freeze them individually wrapped in foil or plastic wrap for up to one month.
Thaw them in the refrigerator before reheating.
What variations can I try with this recipe?
You can customize this recipe by adding ingredients like sliced tomatoes, avocado, bacon, or different types of cheese to create your own unique grilled cheese sandwich.
Experiment with different bread varieties and condiments for added flavor.